DIY PCB
This was my first time making a PCB at home. I thought I would share. If you plan on doing something like this for the first time, first read all of the How-To pages on the net and watch all of the videos on YouTube.
I used pages from a People magazine. I found 3 pages that mostly white, two of which were mostly monochromatic on the other side. I also selected two additional pages to use as tests. The pages were already 10.5 inches tall, so I cut the pages to 7.25 inches wide to make them “Executive” size. The first test page jammed, but the second one went through just fine. All three of the “good” pages jammed the printer just like the first test. I used the back cover as it was thicker and it passed through the printer just fine but bubbled slightly. A second attempt to print on a magazine cover produced a lot of bubbles, so now I believe that the outside covers of some magazines are covered with something that makes them unsuitable for toner transfer. I found more pages and just kept trying until I got both sides printed – and yeah, I had to clear about 8 more jams.
Most of the training material recommends using Scotch Brite by name. I used a brand new Scotch Brite pad but it didn’t seem to polish the copper at all no matter how hard I rubbed. I ended up using an extra-fine grit sanding block and stopped when the copper was shiny. I cleaned with alcohol, positioned the first magazine page, and started to iron. I ironed for about 5 minutes, flipped the PCB over, positioned the second magazine page, and ironed for another 5 minutes. I rinsed with water and pealed the paper off. Like a lot of printers, mine leaves stripes in some of the fills. I had to touch up these and a few other spots with a Sharpie.
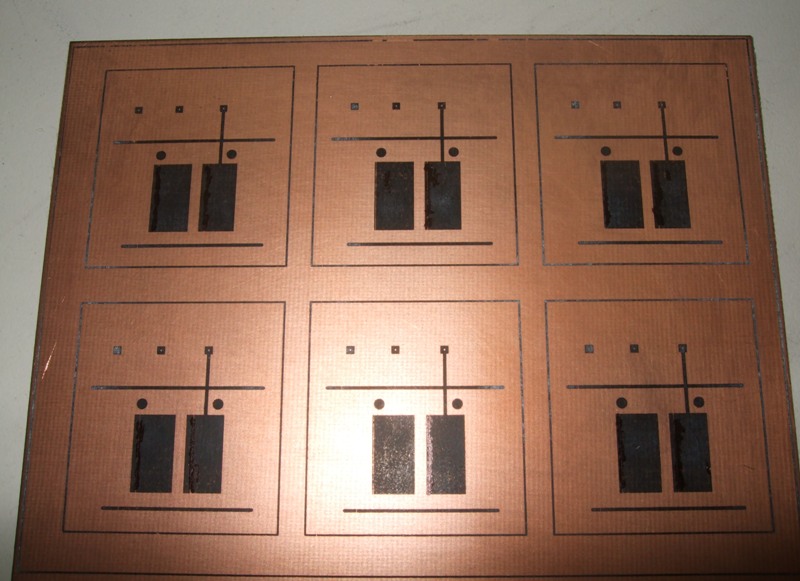
- top_toner.JPG (102.38 KiB) Viewed 8801 times
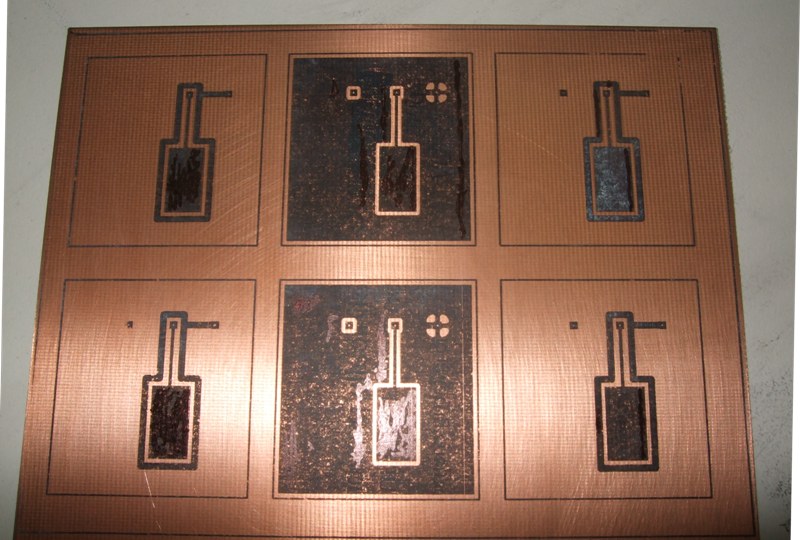
- bot_toner.JPG (101.32 KiB) Viewed 8801 times
I chose to etch with hydrogen peroxide and hydrogen chloride because I had both on hand. Mixed in a 2:1 it took about 5 minutes to etch. I rubbed the copper with a small piece of sponge during the process.
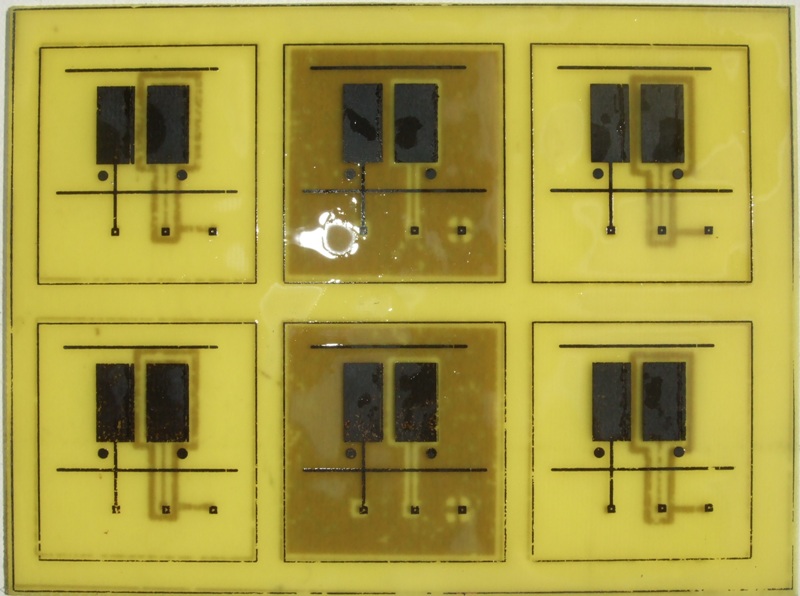
- top_etched.JPG (116.11 KiB) Viewed 8801 times
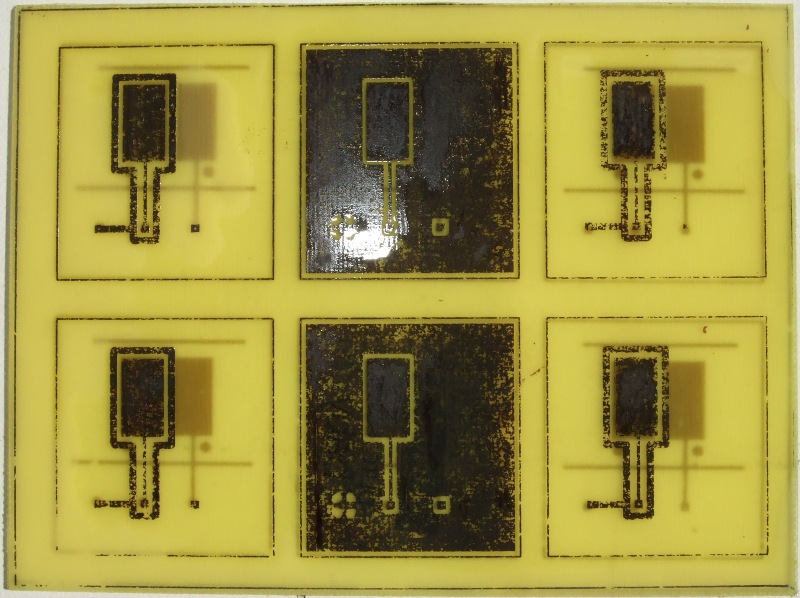
- bot_etched.JPG (138.92 KiB) Viewed 8801 times
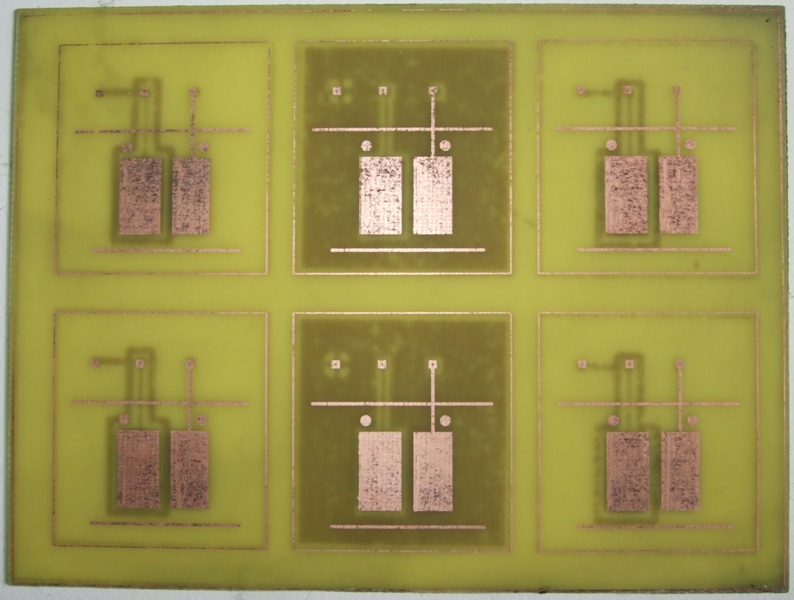
- top_clean.JPG (104.76 KiB) Viewed 8801 times
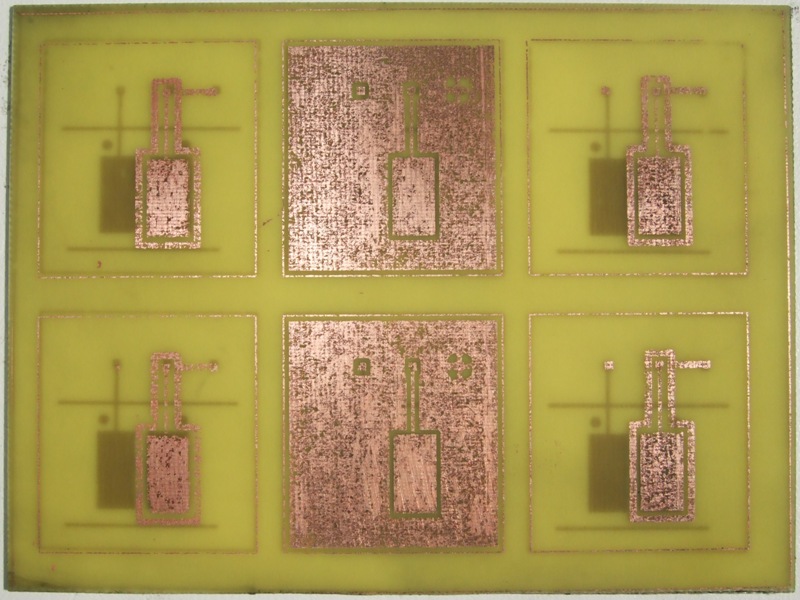
- bot_clean.JPG (131.97 KiB) Viewed 8801 times
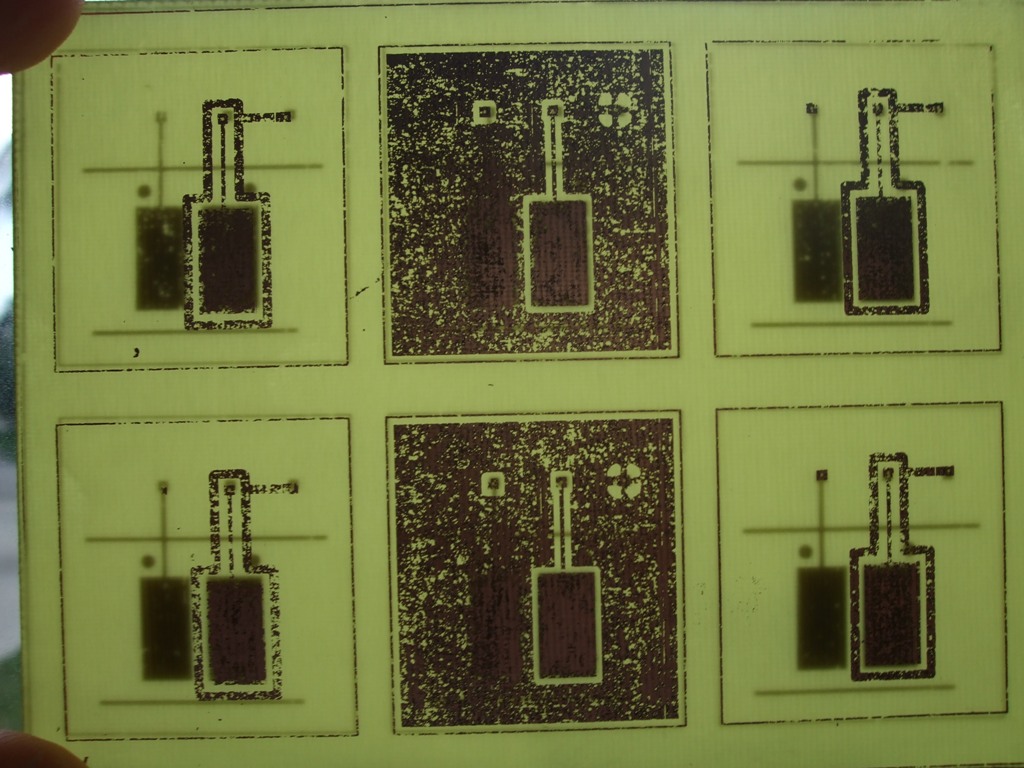
- x-ray.JPG (186.71 KiB) Viewed 8801 times
I am not happy with the end result. The two sides did line up pretty nicely, but far too much of the toner flaked off leaving pitted fills and broken traces. But I will still wire these up to see if they trigger the controller. If they work then it tells us that the controller will handle a signal far from perfect, and if not, it is something worth knowing.
I have a Brother laser printer at home and have heard that these have a different fuser temperature (and toner formulation) than other laser printers. Perhaps the sanding block was too abrasive or I didn’t abrade enough. I have plenty of blank copper clad remaining, so please comment if you have any suggestions on improving my process.