with the aim of =if I can do it anyone can !!
plus this is meant to have a bit of humour in it also .
using basic tools and methods to hopefully inspire you to have a go
first make a plan
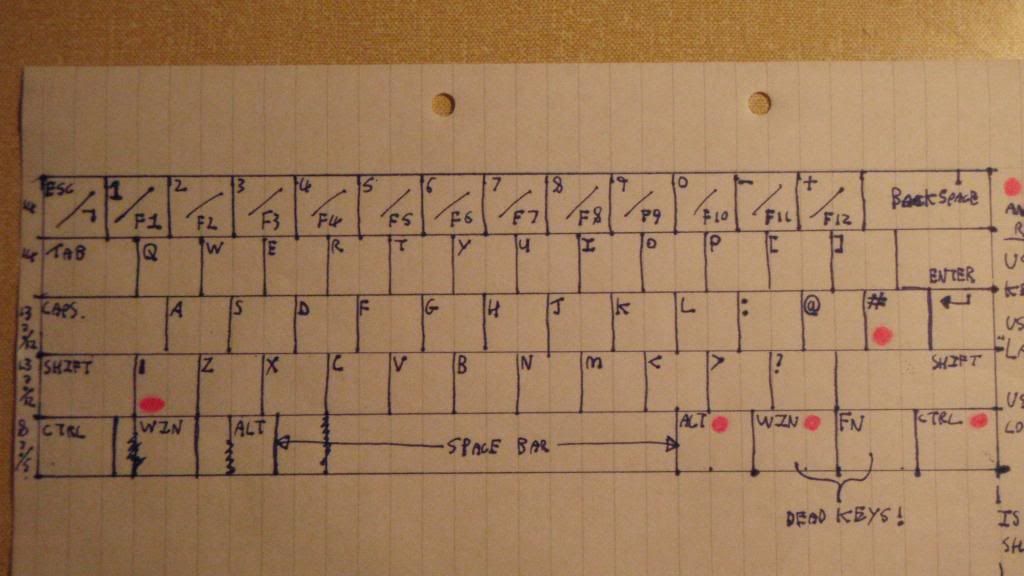
as you can nothing special(old school)
I tend to use pos keyboards from the likes of tipro and access keyboards as they have programmable software
got this cheap from ebay
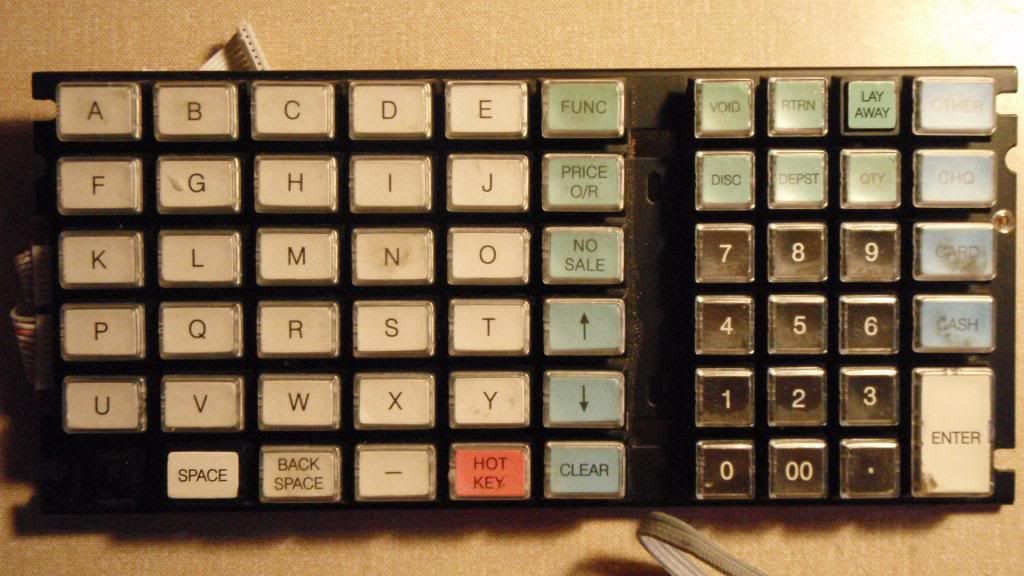
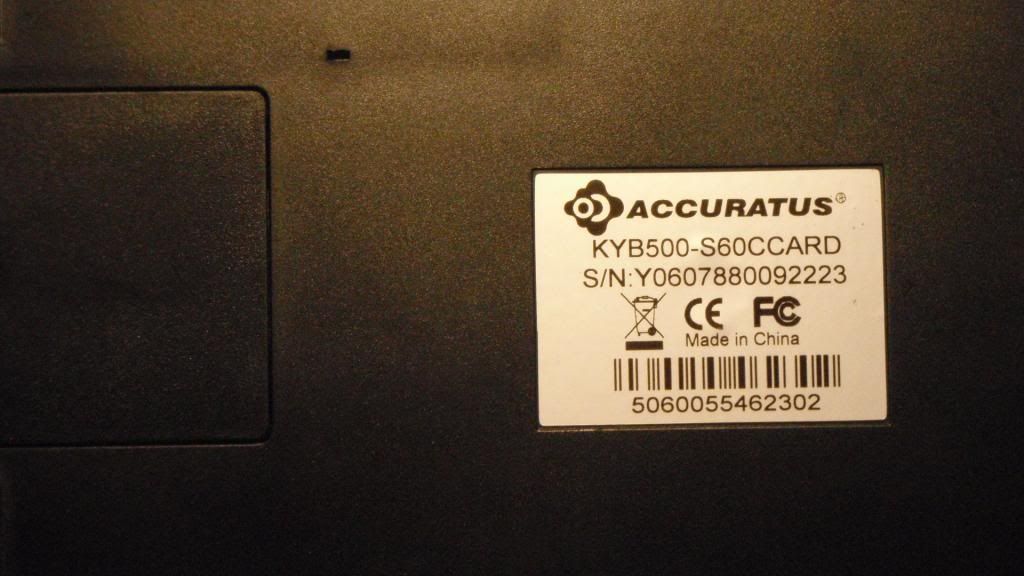
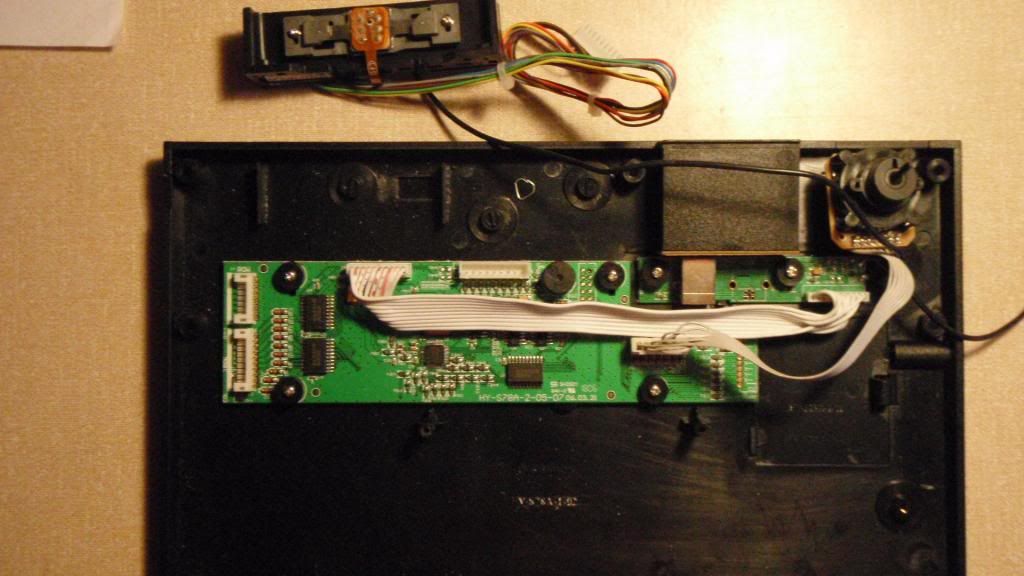
the two connectors on the left connect to the keyboard .the middle empty one connects to the card reader and will be dead from now on
the key lock unit i'm going to use as a layer switch later on in the programming part of the build .The usb is on a cable and this allows me the place it anywhere .There's also a small socket for the numlock lights under that main ribbon which I'm going to put at the front edge of the case
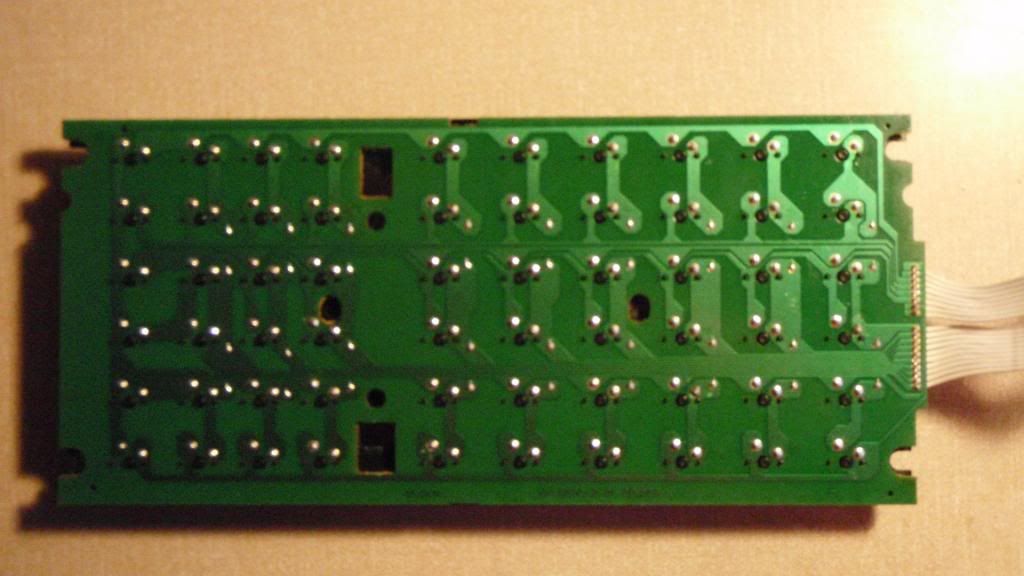
Now the fun starts make a plan of the original layout .
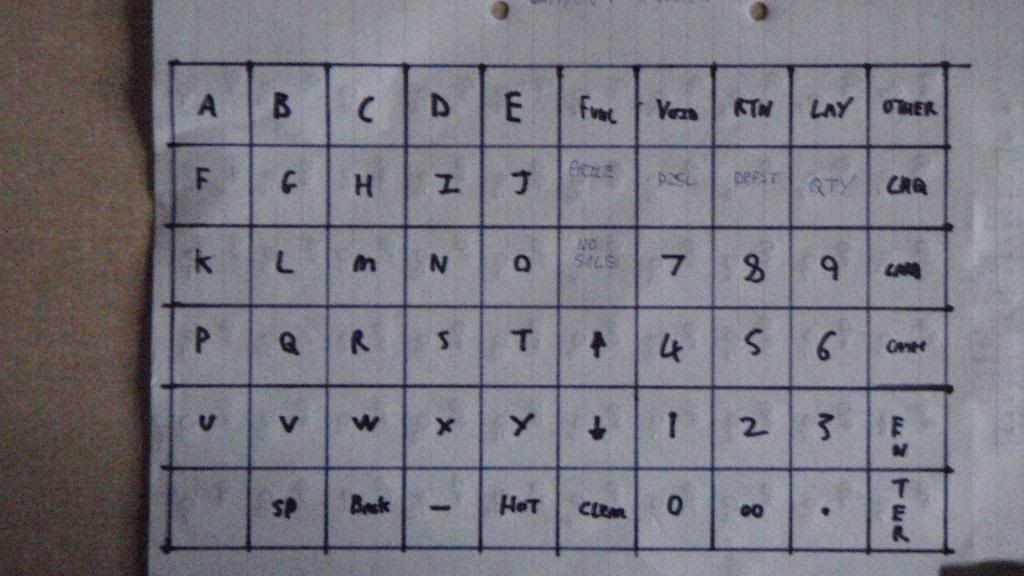 Using a volt meter (set on buzzer) map the keys out .when doing the "mapping don't press down to hard as you'll make contact on the switch and give a false reading (yes I did)and you should end up with this
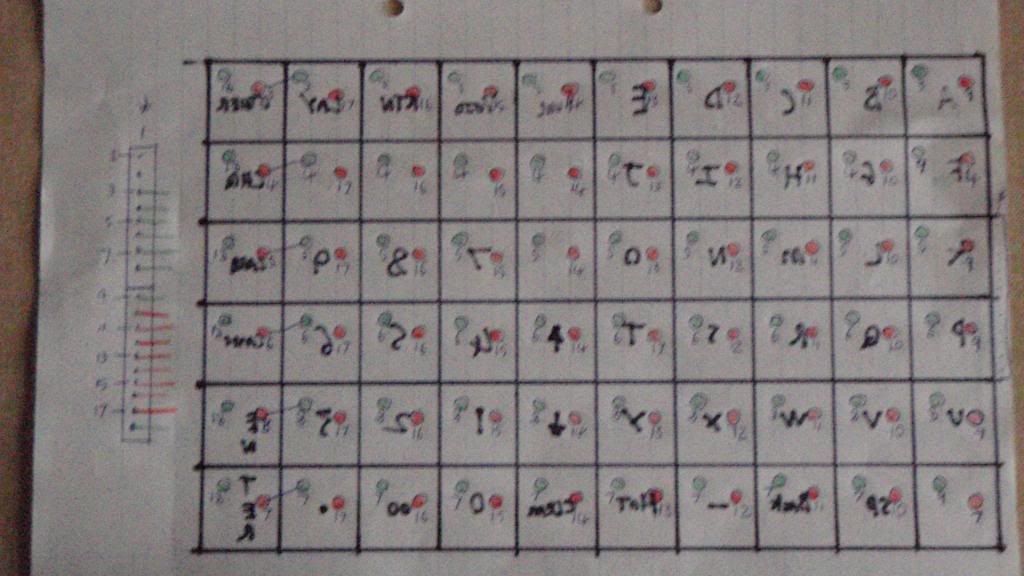
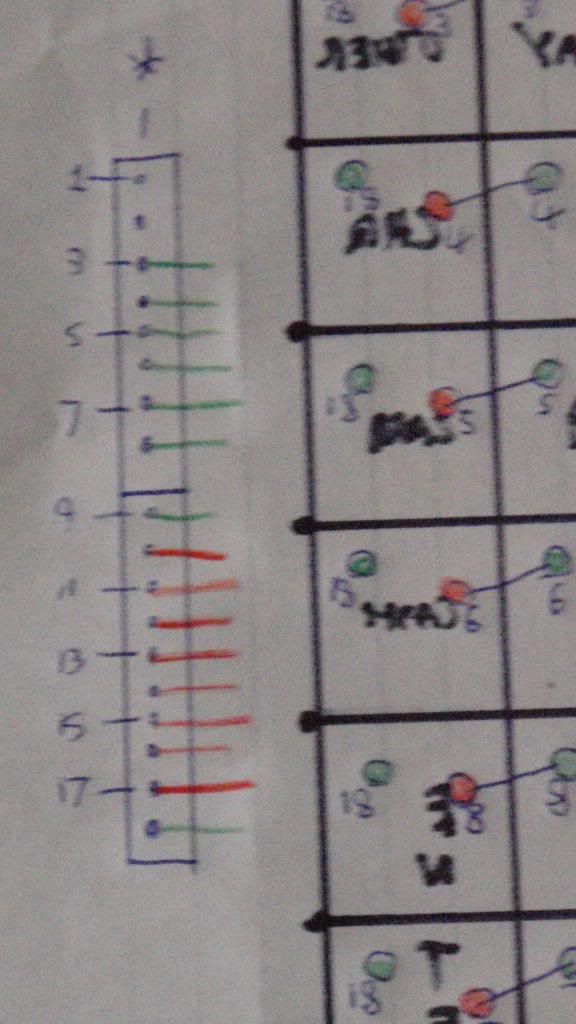
this comes in handy later on when you move the keys around to your new layout.
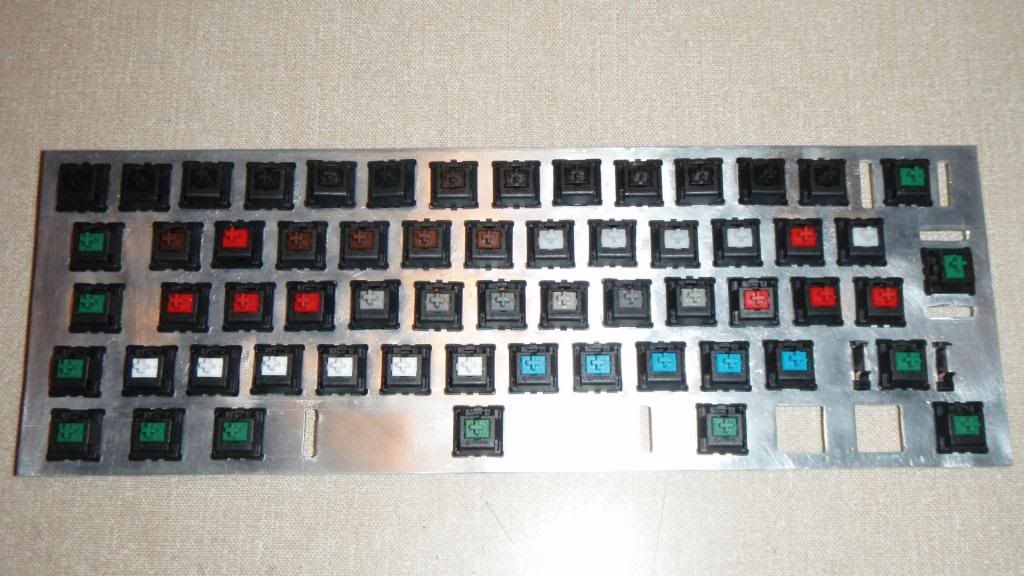
I tend to use 1.5mm aluminium for the "base plate" as its cheap and easy to work with basic tools but I am thinking of brass or copper for next project
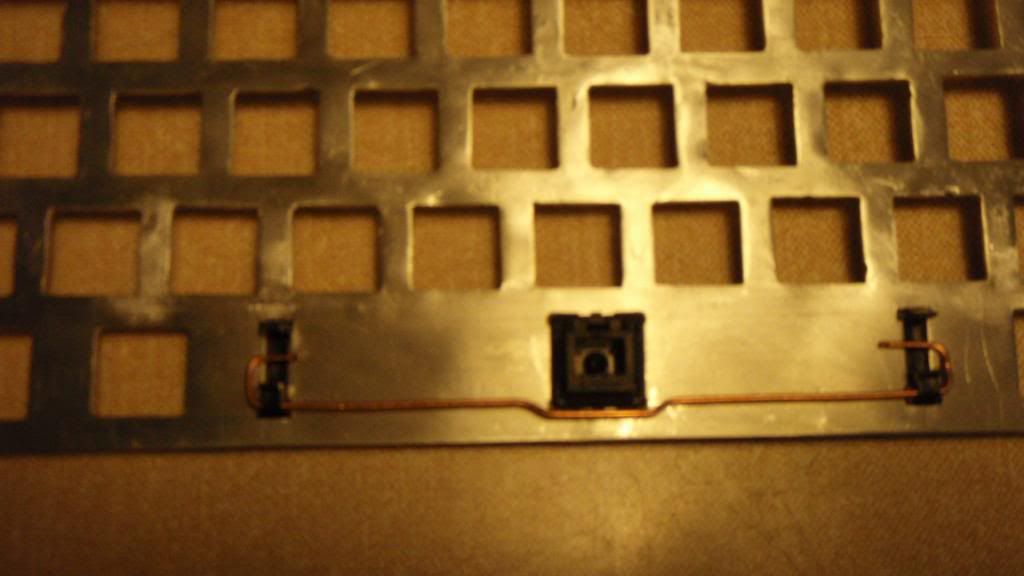
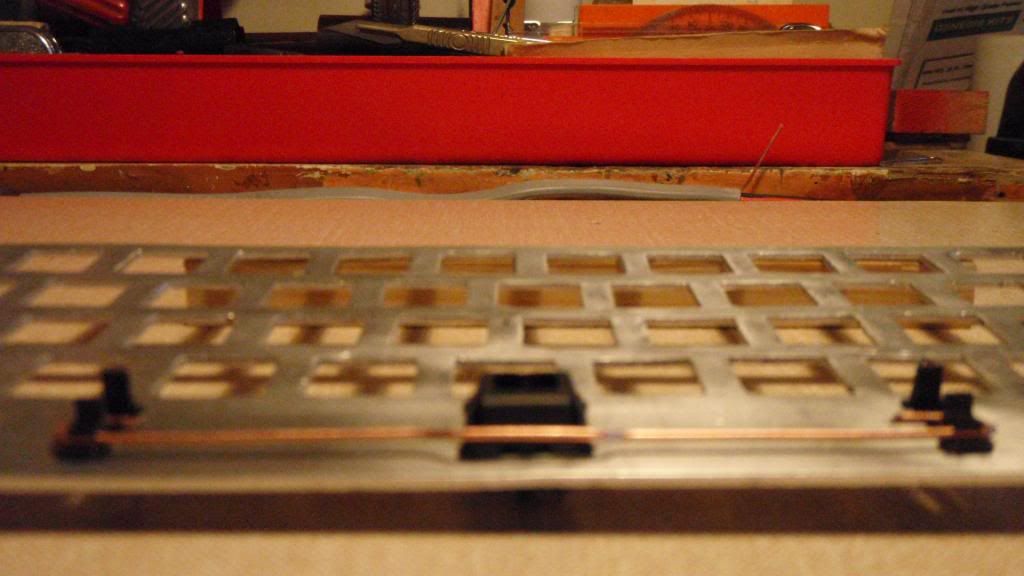
mark out on the base plate the key holes .I've got a black spare plate from another project spare (never throw stuff away)
which I use as a marking out template ,but sometimes you'll have to plan as you go .ie windows keys etc
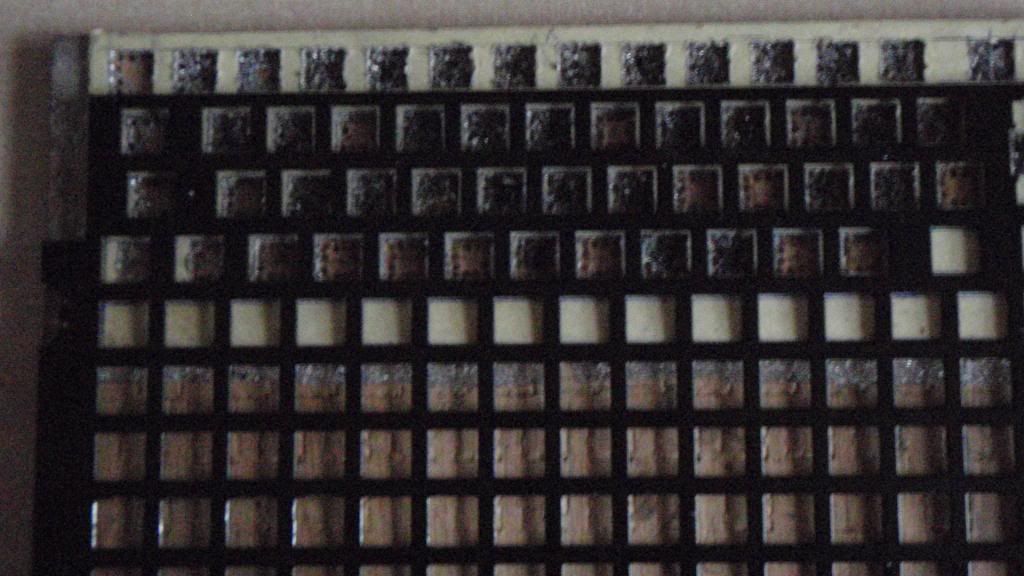
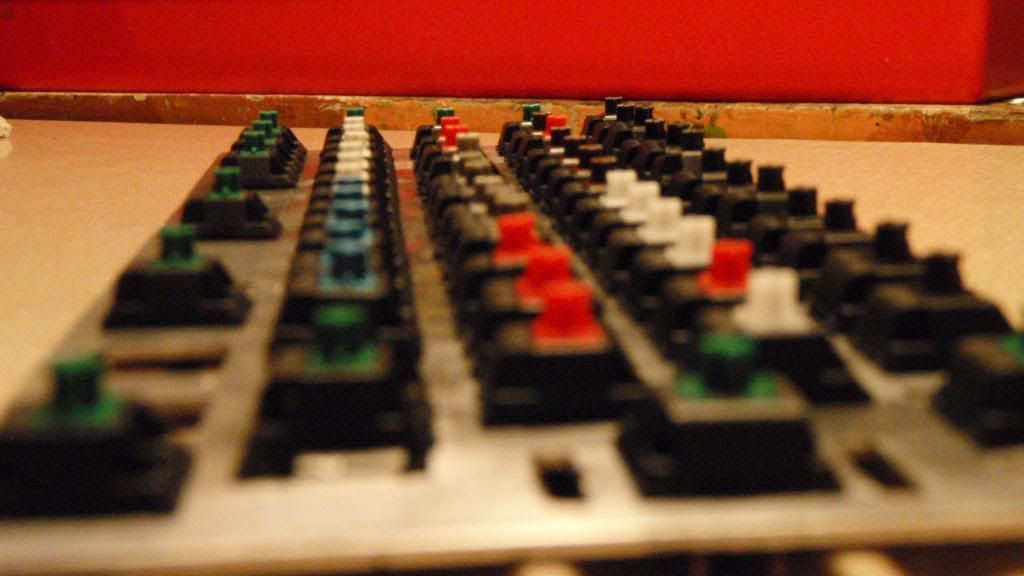
I just drilled the key holes using a dermal mini drill in a drill press (although I wasn't that impressed with the drill it did tend to move a bit) the longer spent taking your time now will save on filing later (use a medium course file)as it doesn't clog up as much
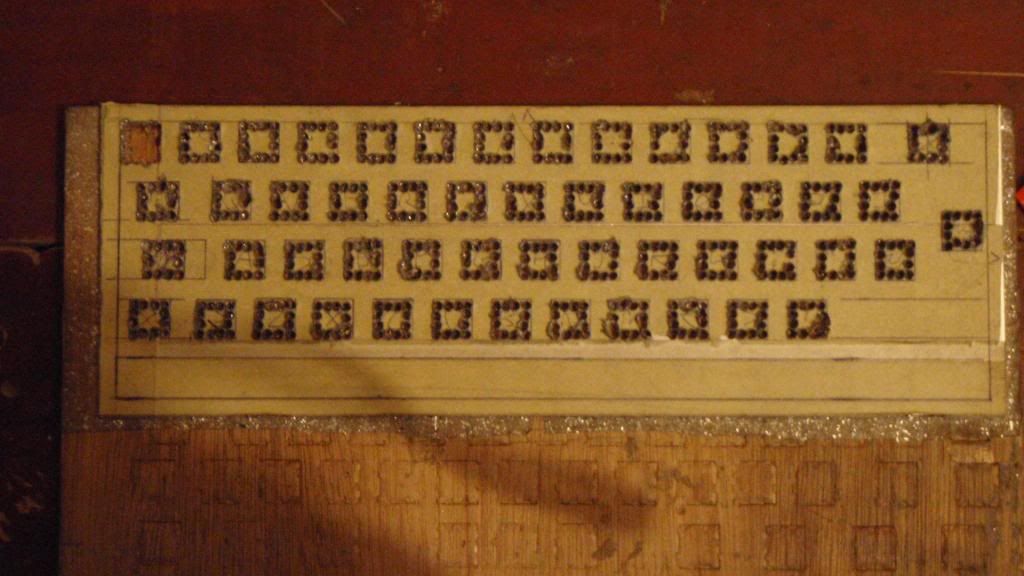
then I used a wood chisel and chopped the waste out (another advance of using aluminium) and if you bend the plate simply lay it on a steel plate 5 to 10mm thick and roll or "tap" it flat again
then sit there filing for a day or two !!
it does not matter if one or two keys are a bit lose as a drop of hot glue or uhu etc (in case you wish to remove later)will
hold them .
phase 2 too follow but as I'm returning to work next week there may be a pause for a bit !
you're welcome to post replies/ask questions (if any)
