Since I already have a 5251 beamspring keyboard
(viewtopic.php?f=7&t=21093), which I imported from the US to Germany - with considerable costs involved, but don't even use as a daily driver, one might think, that I don't really need a second one, but when I saw that IBM 3278 on eBay from a German seller, I couldn't resist in the end.
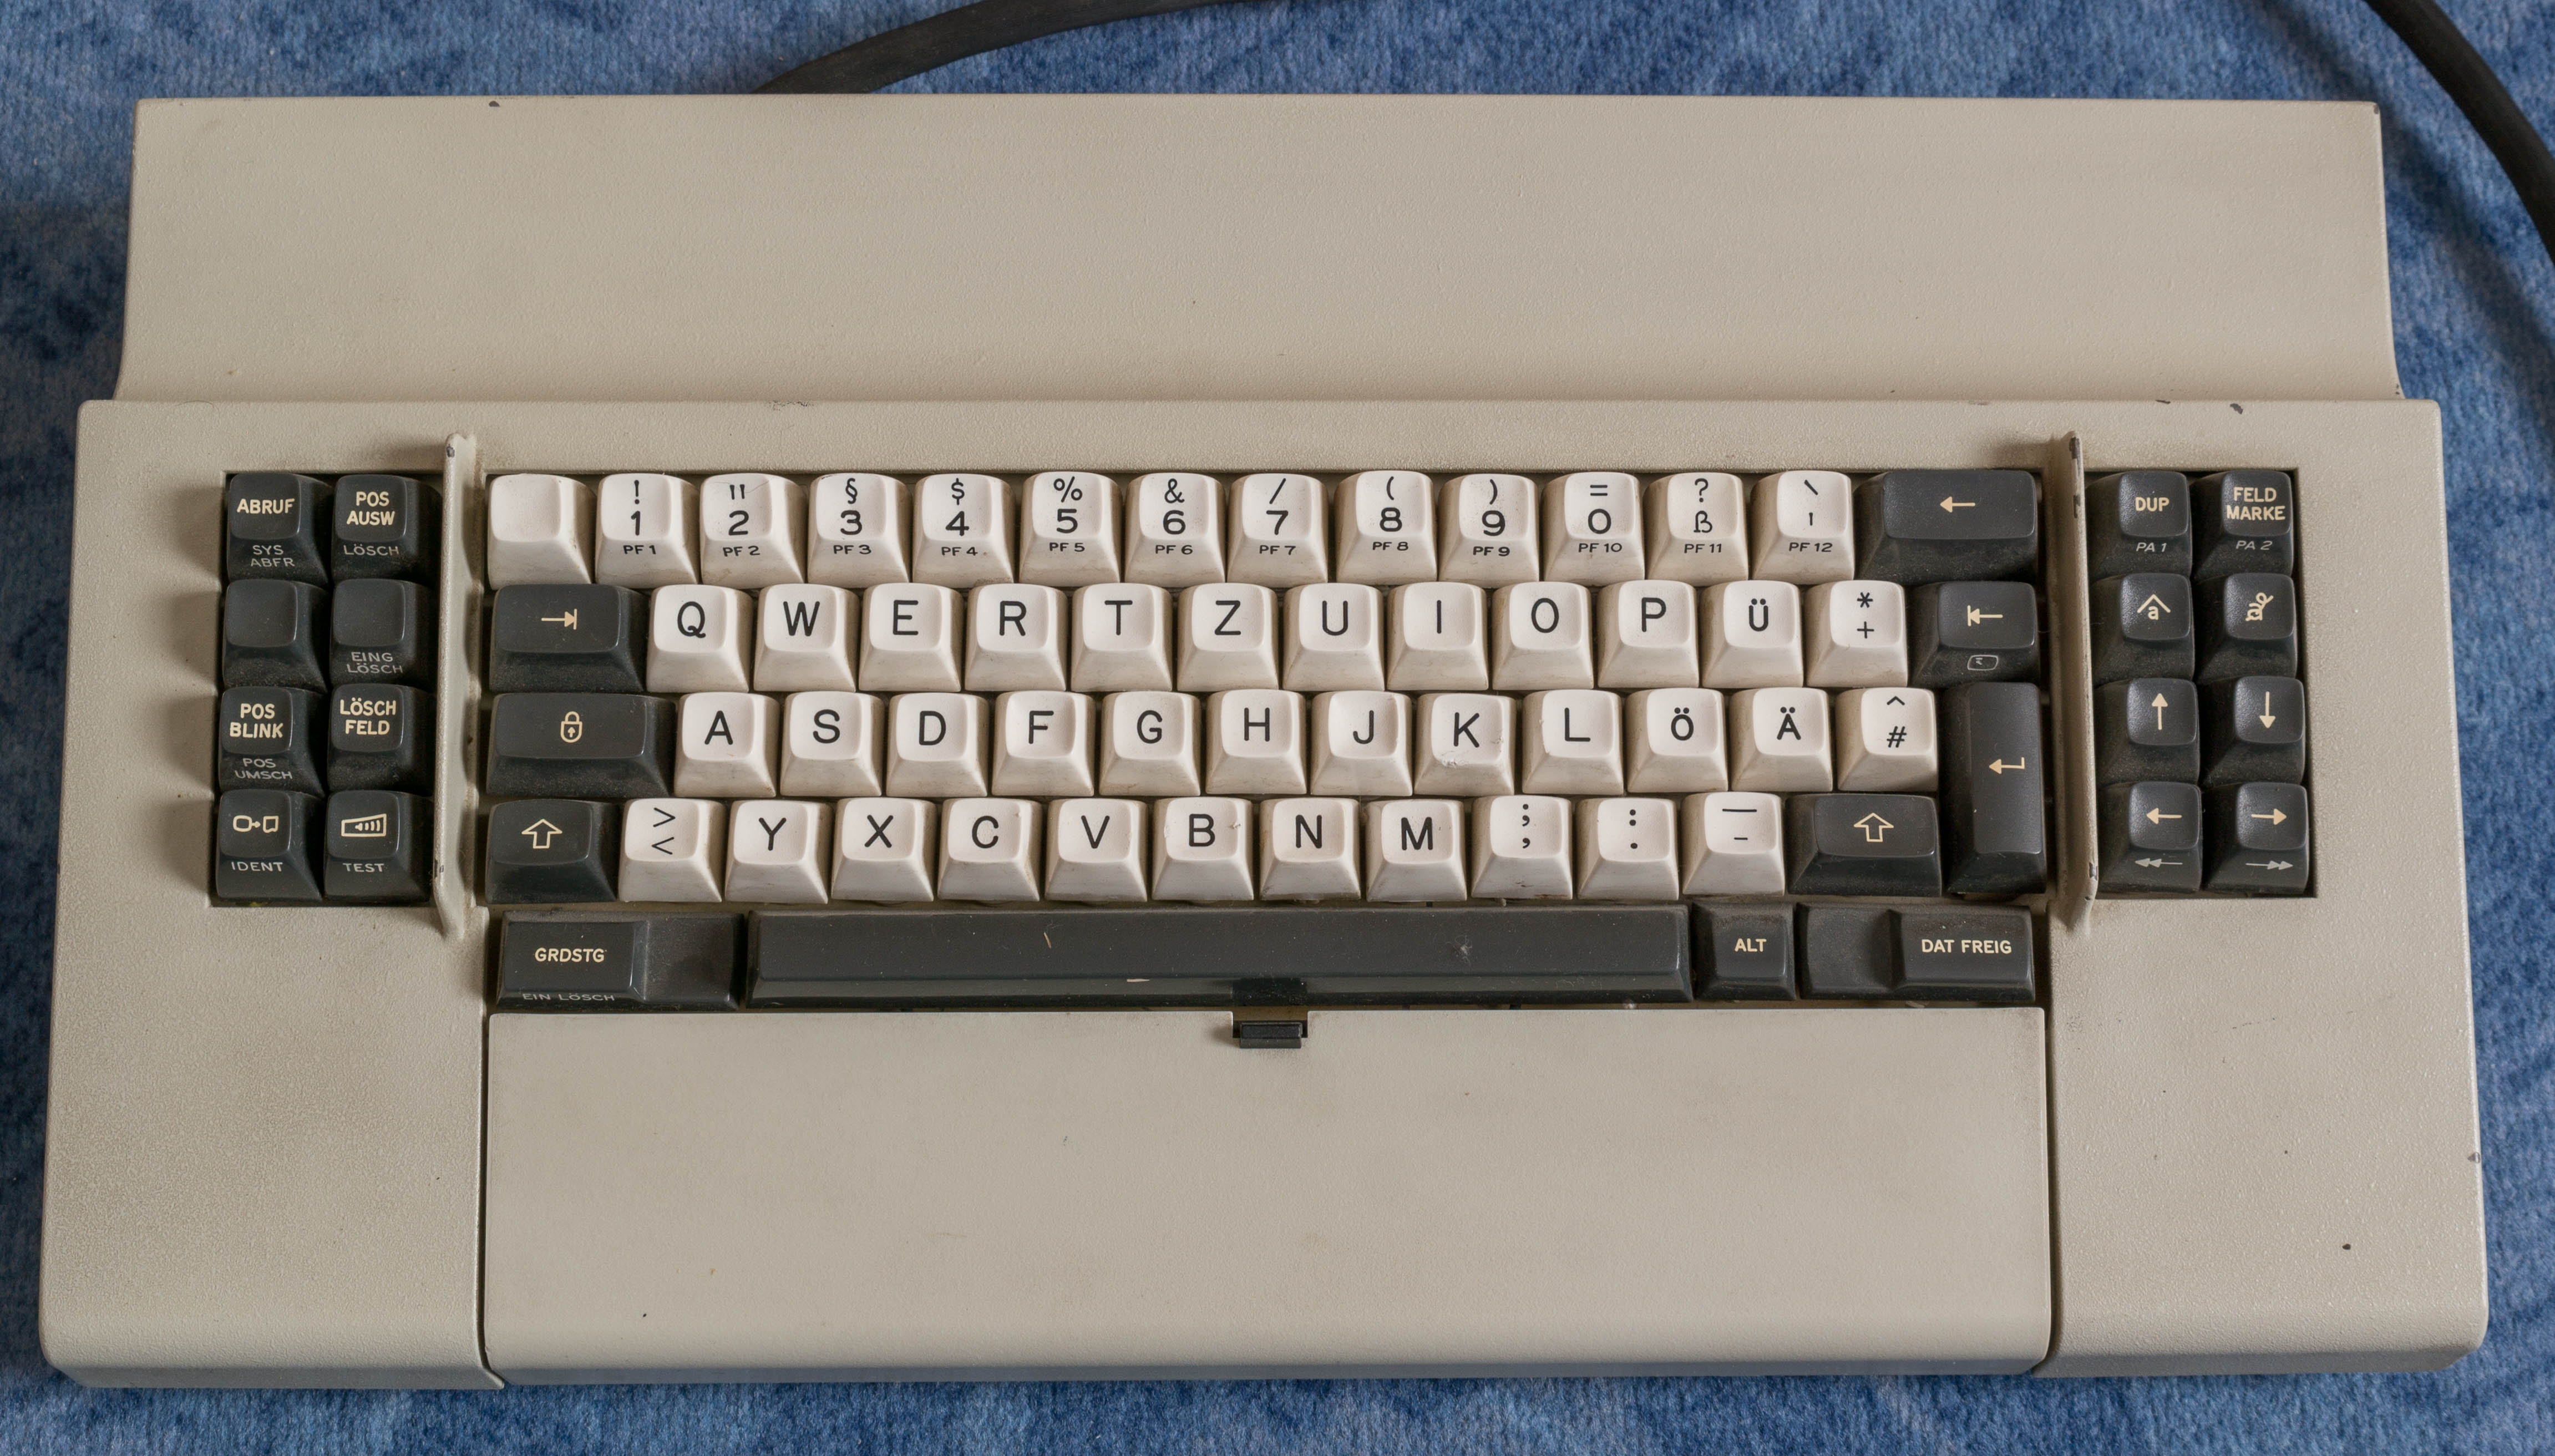
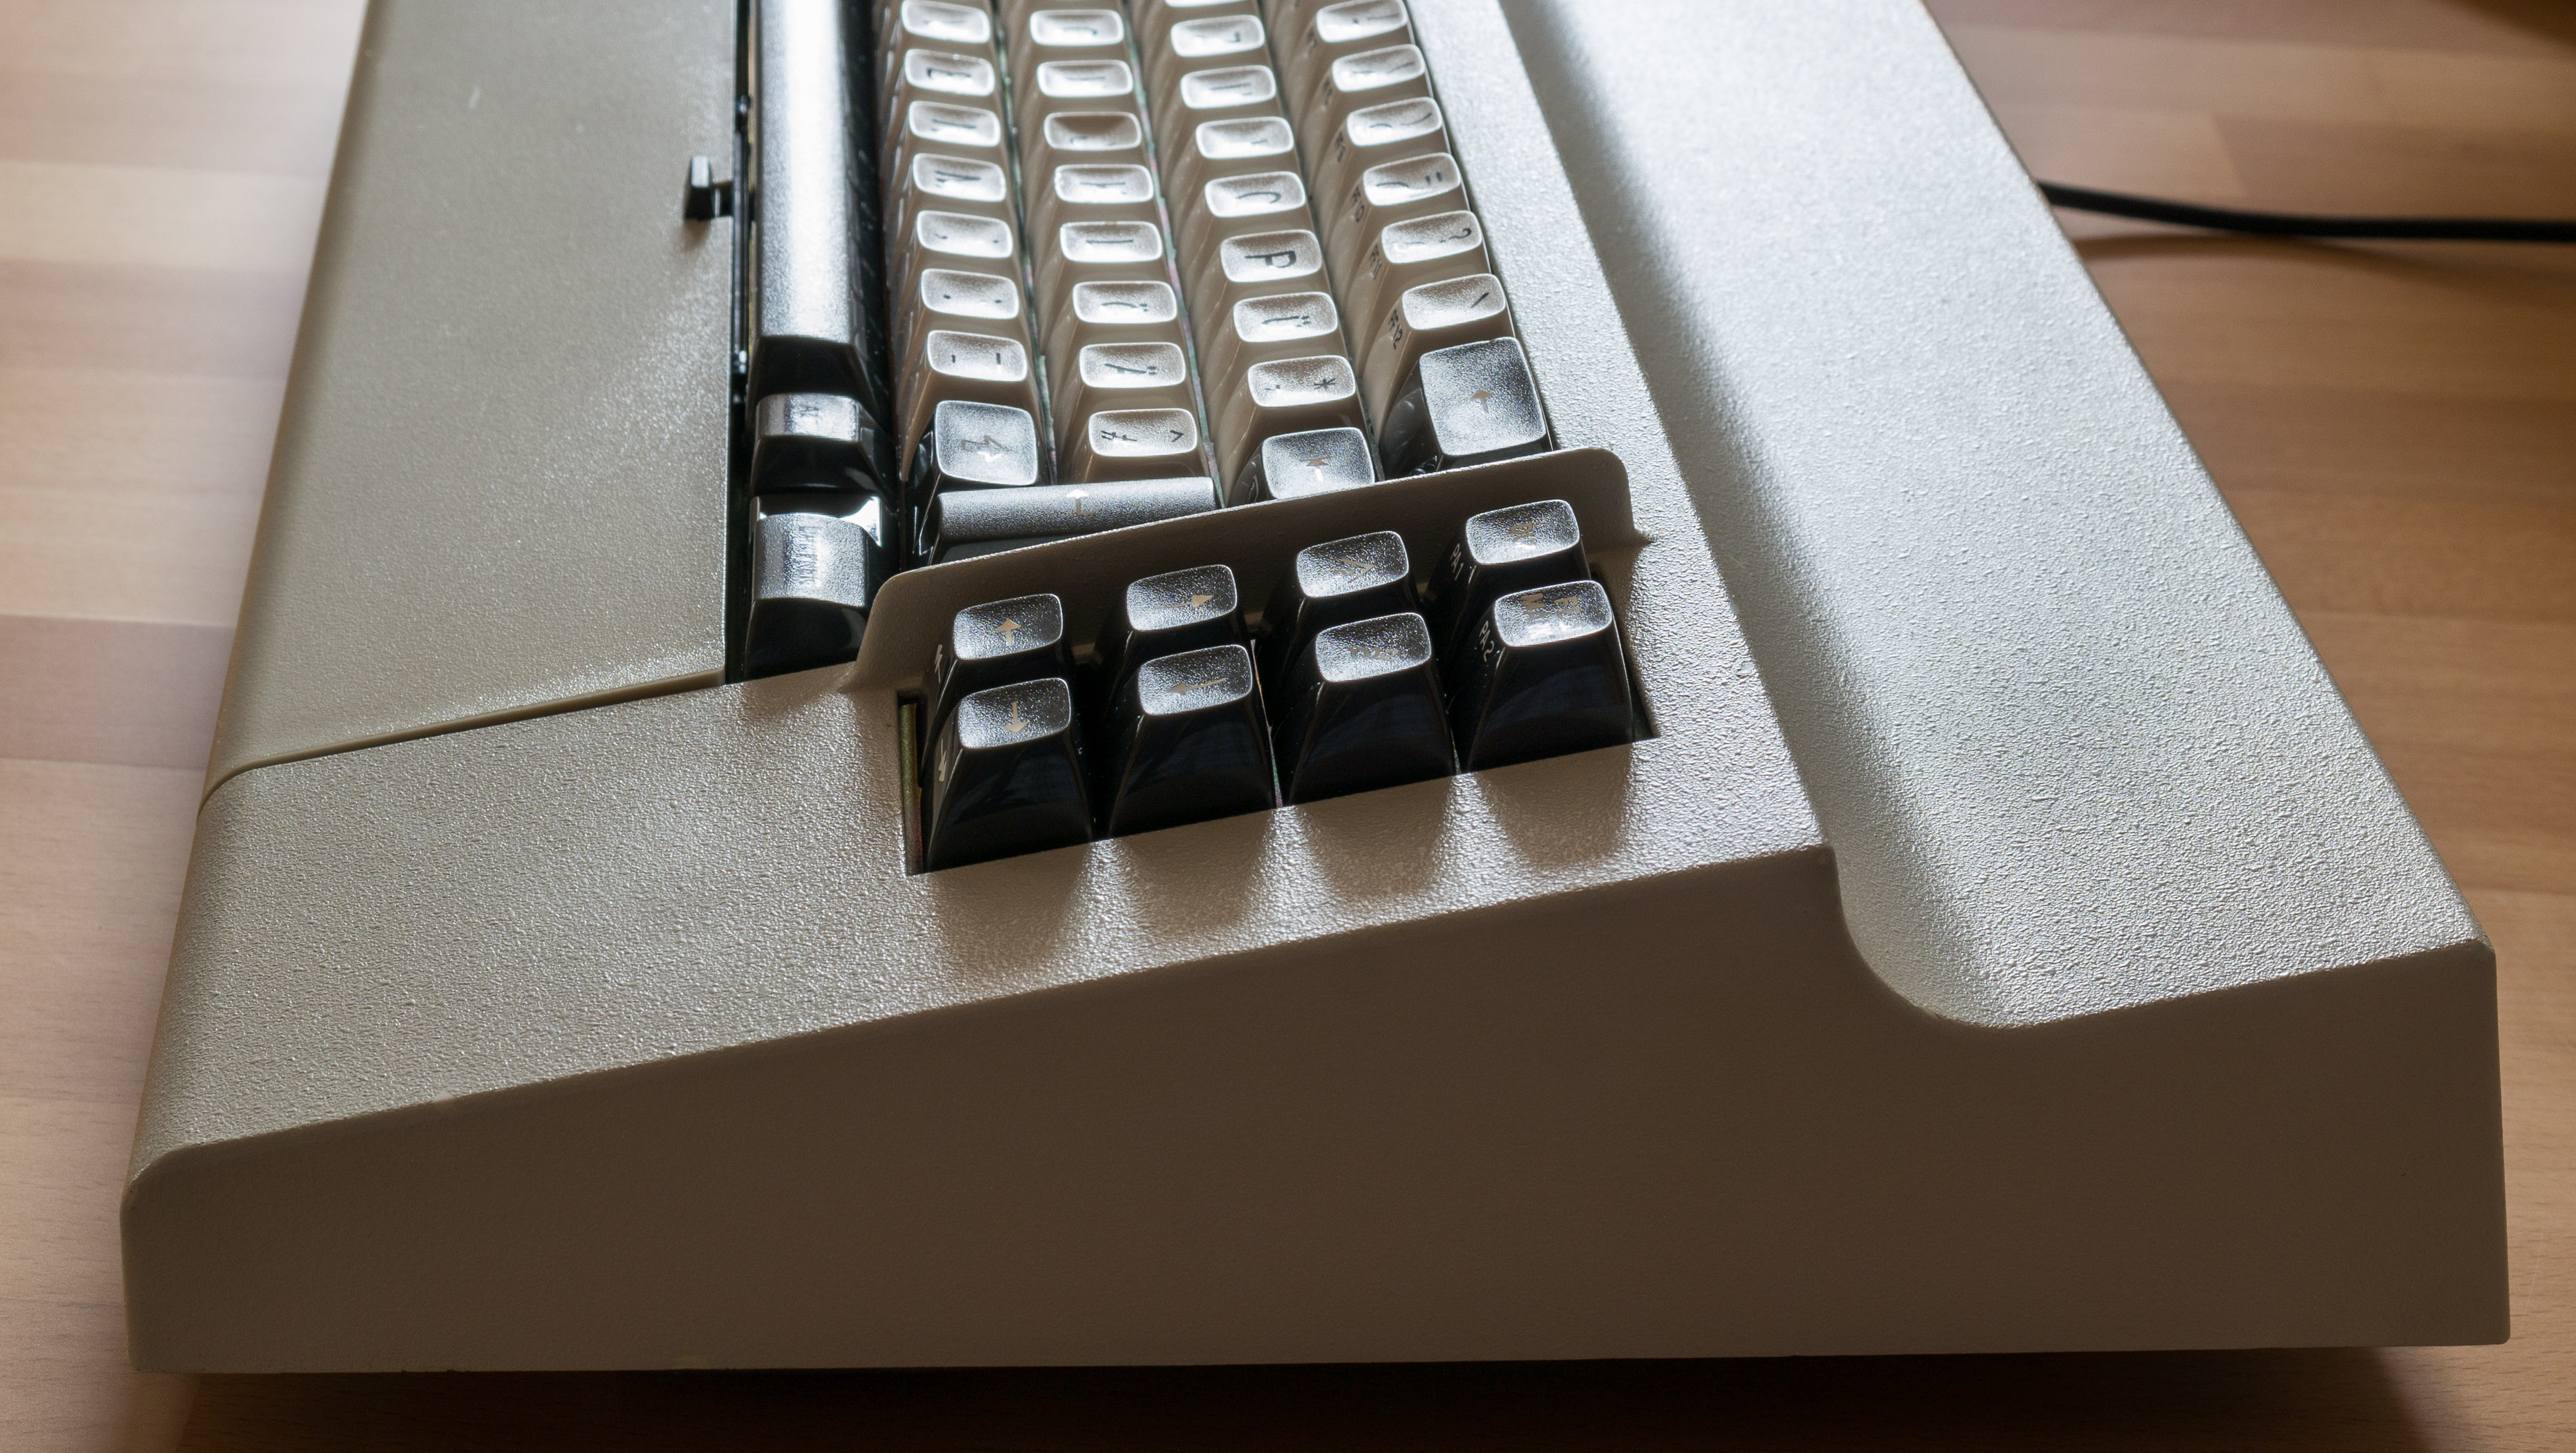
Although the layout isn't very practical for me, I like the cute, comparatively small case, the color combination of the keycaps, and the special shape and position of the ENTER key also appeals to me.
The condition of the keyboard looked really great - only a few paint chips on the case.
- 3278-01.jpg (1.02 MiB) Viewed 2303 times
- 3278-02.jpg (924.57 KiB) Viewed 2303 times
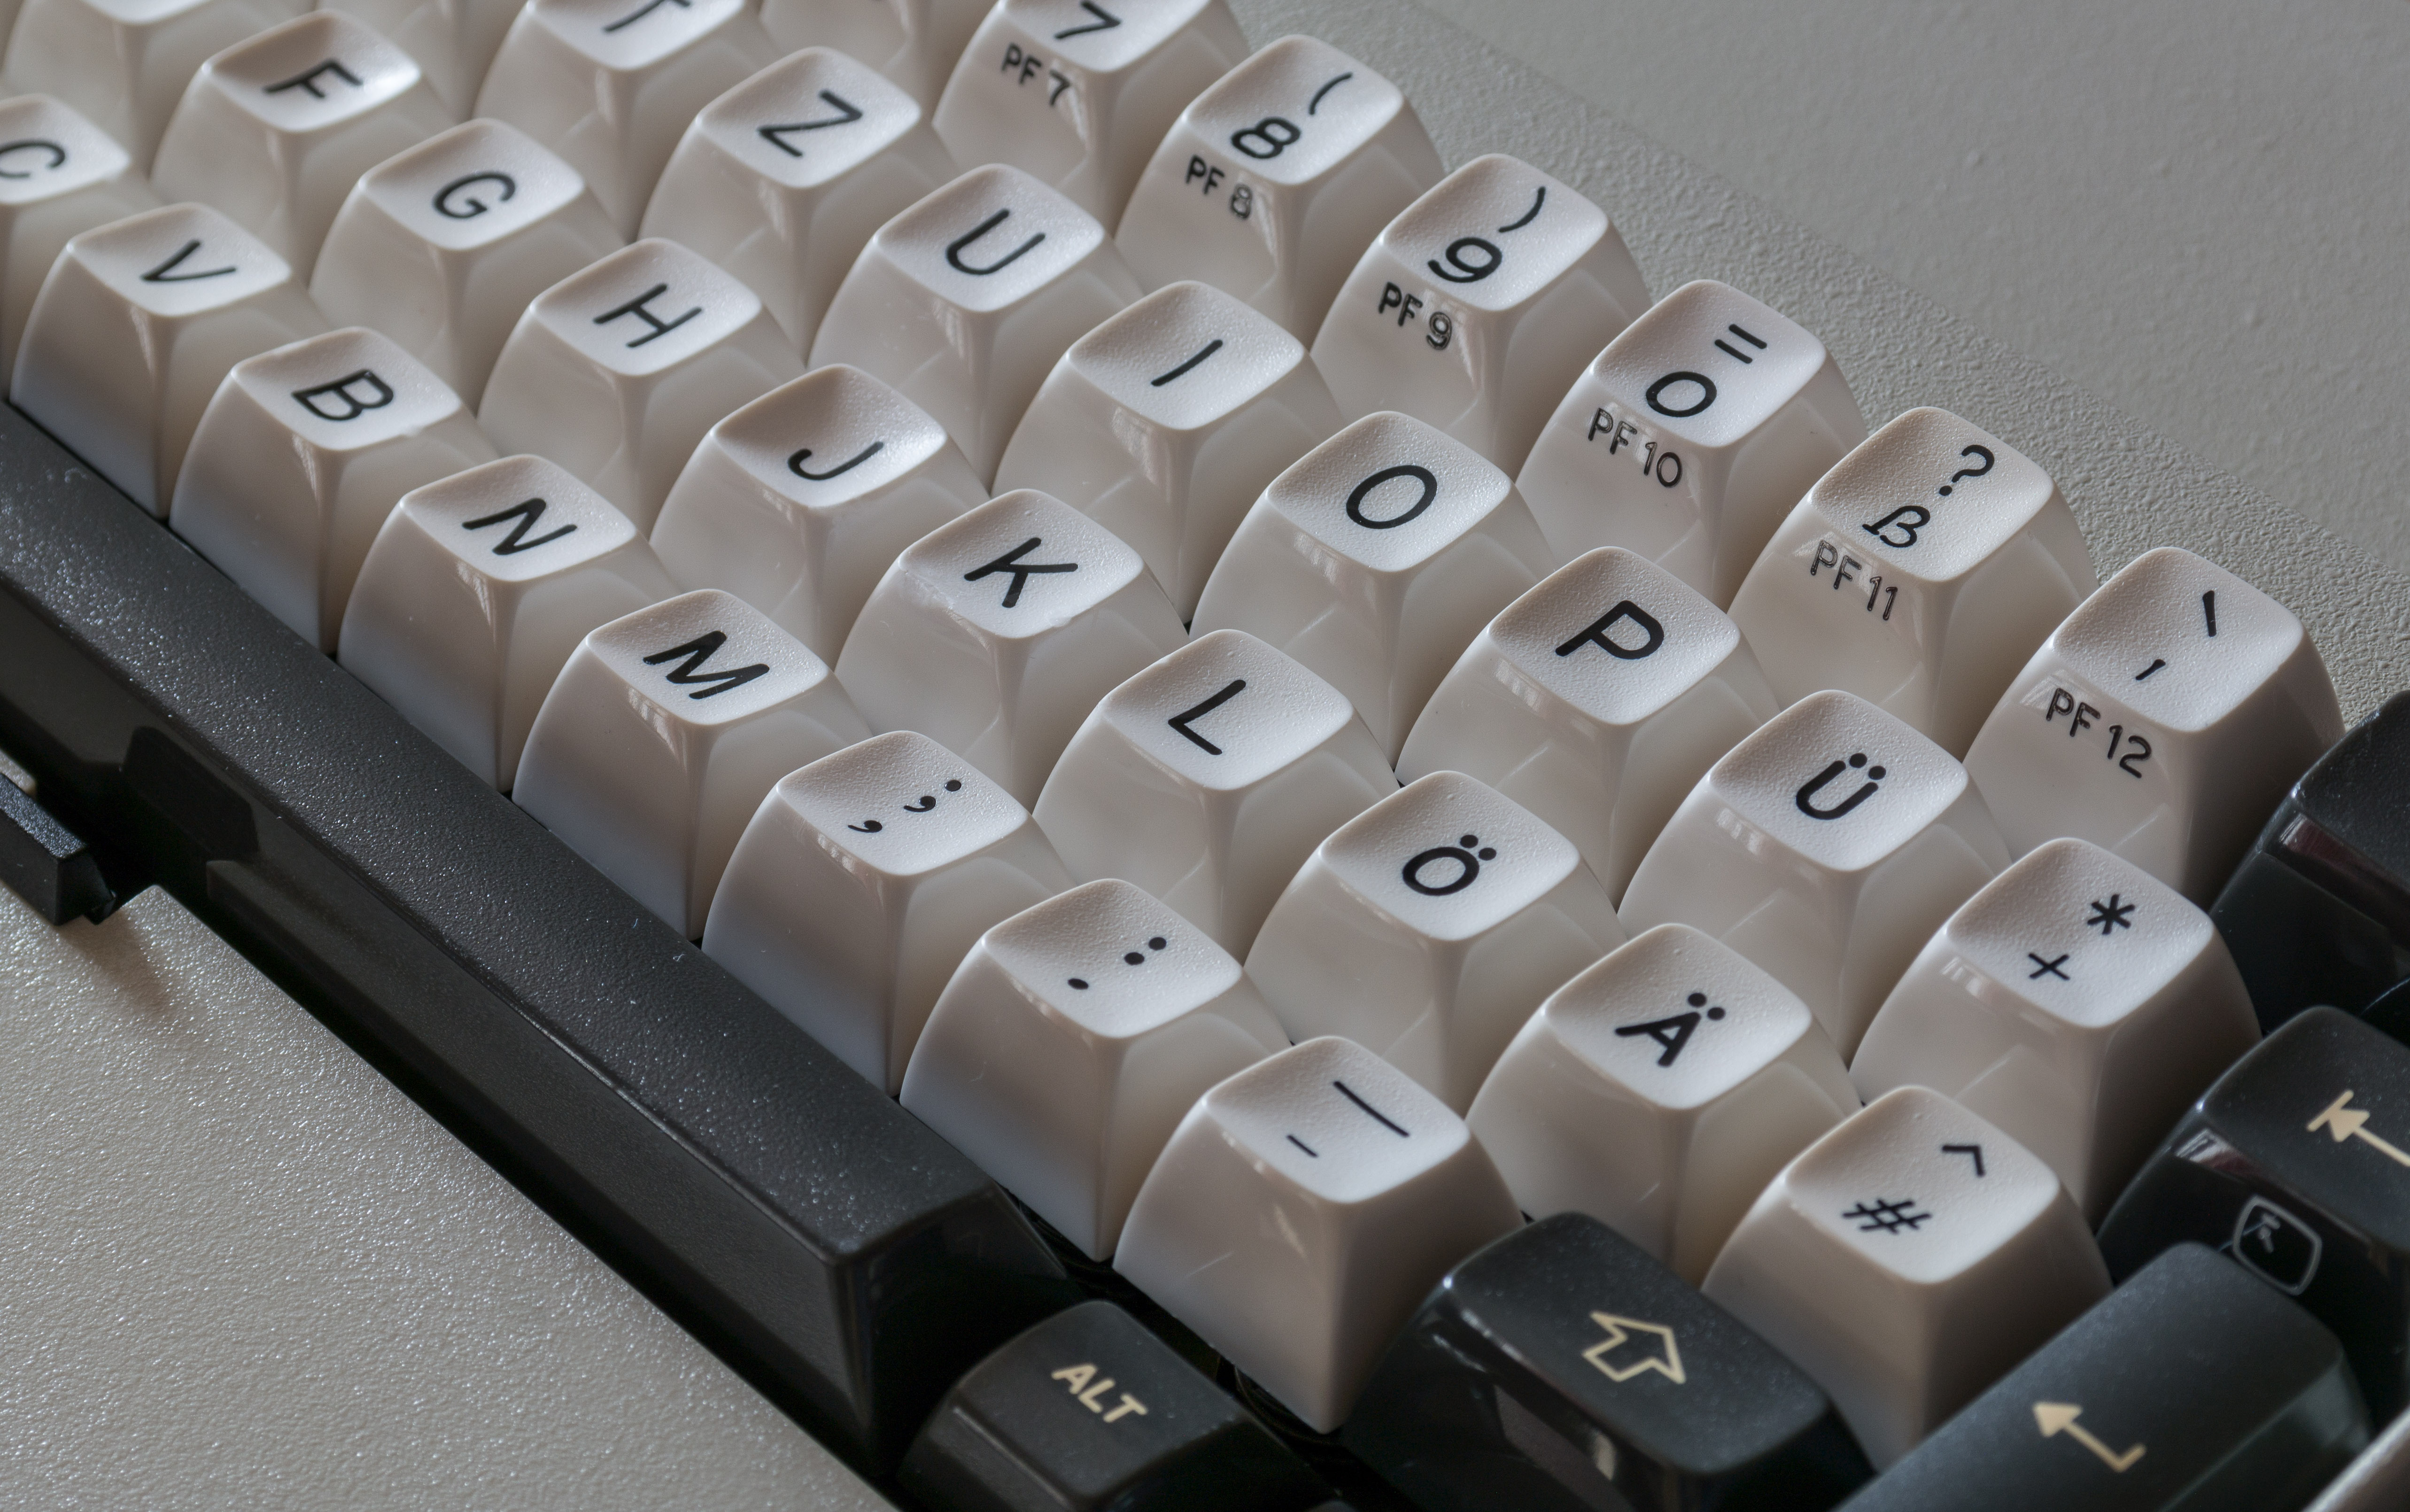
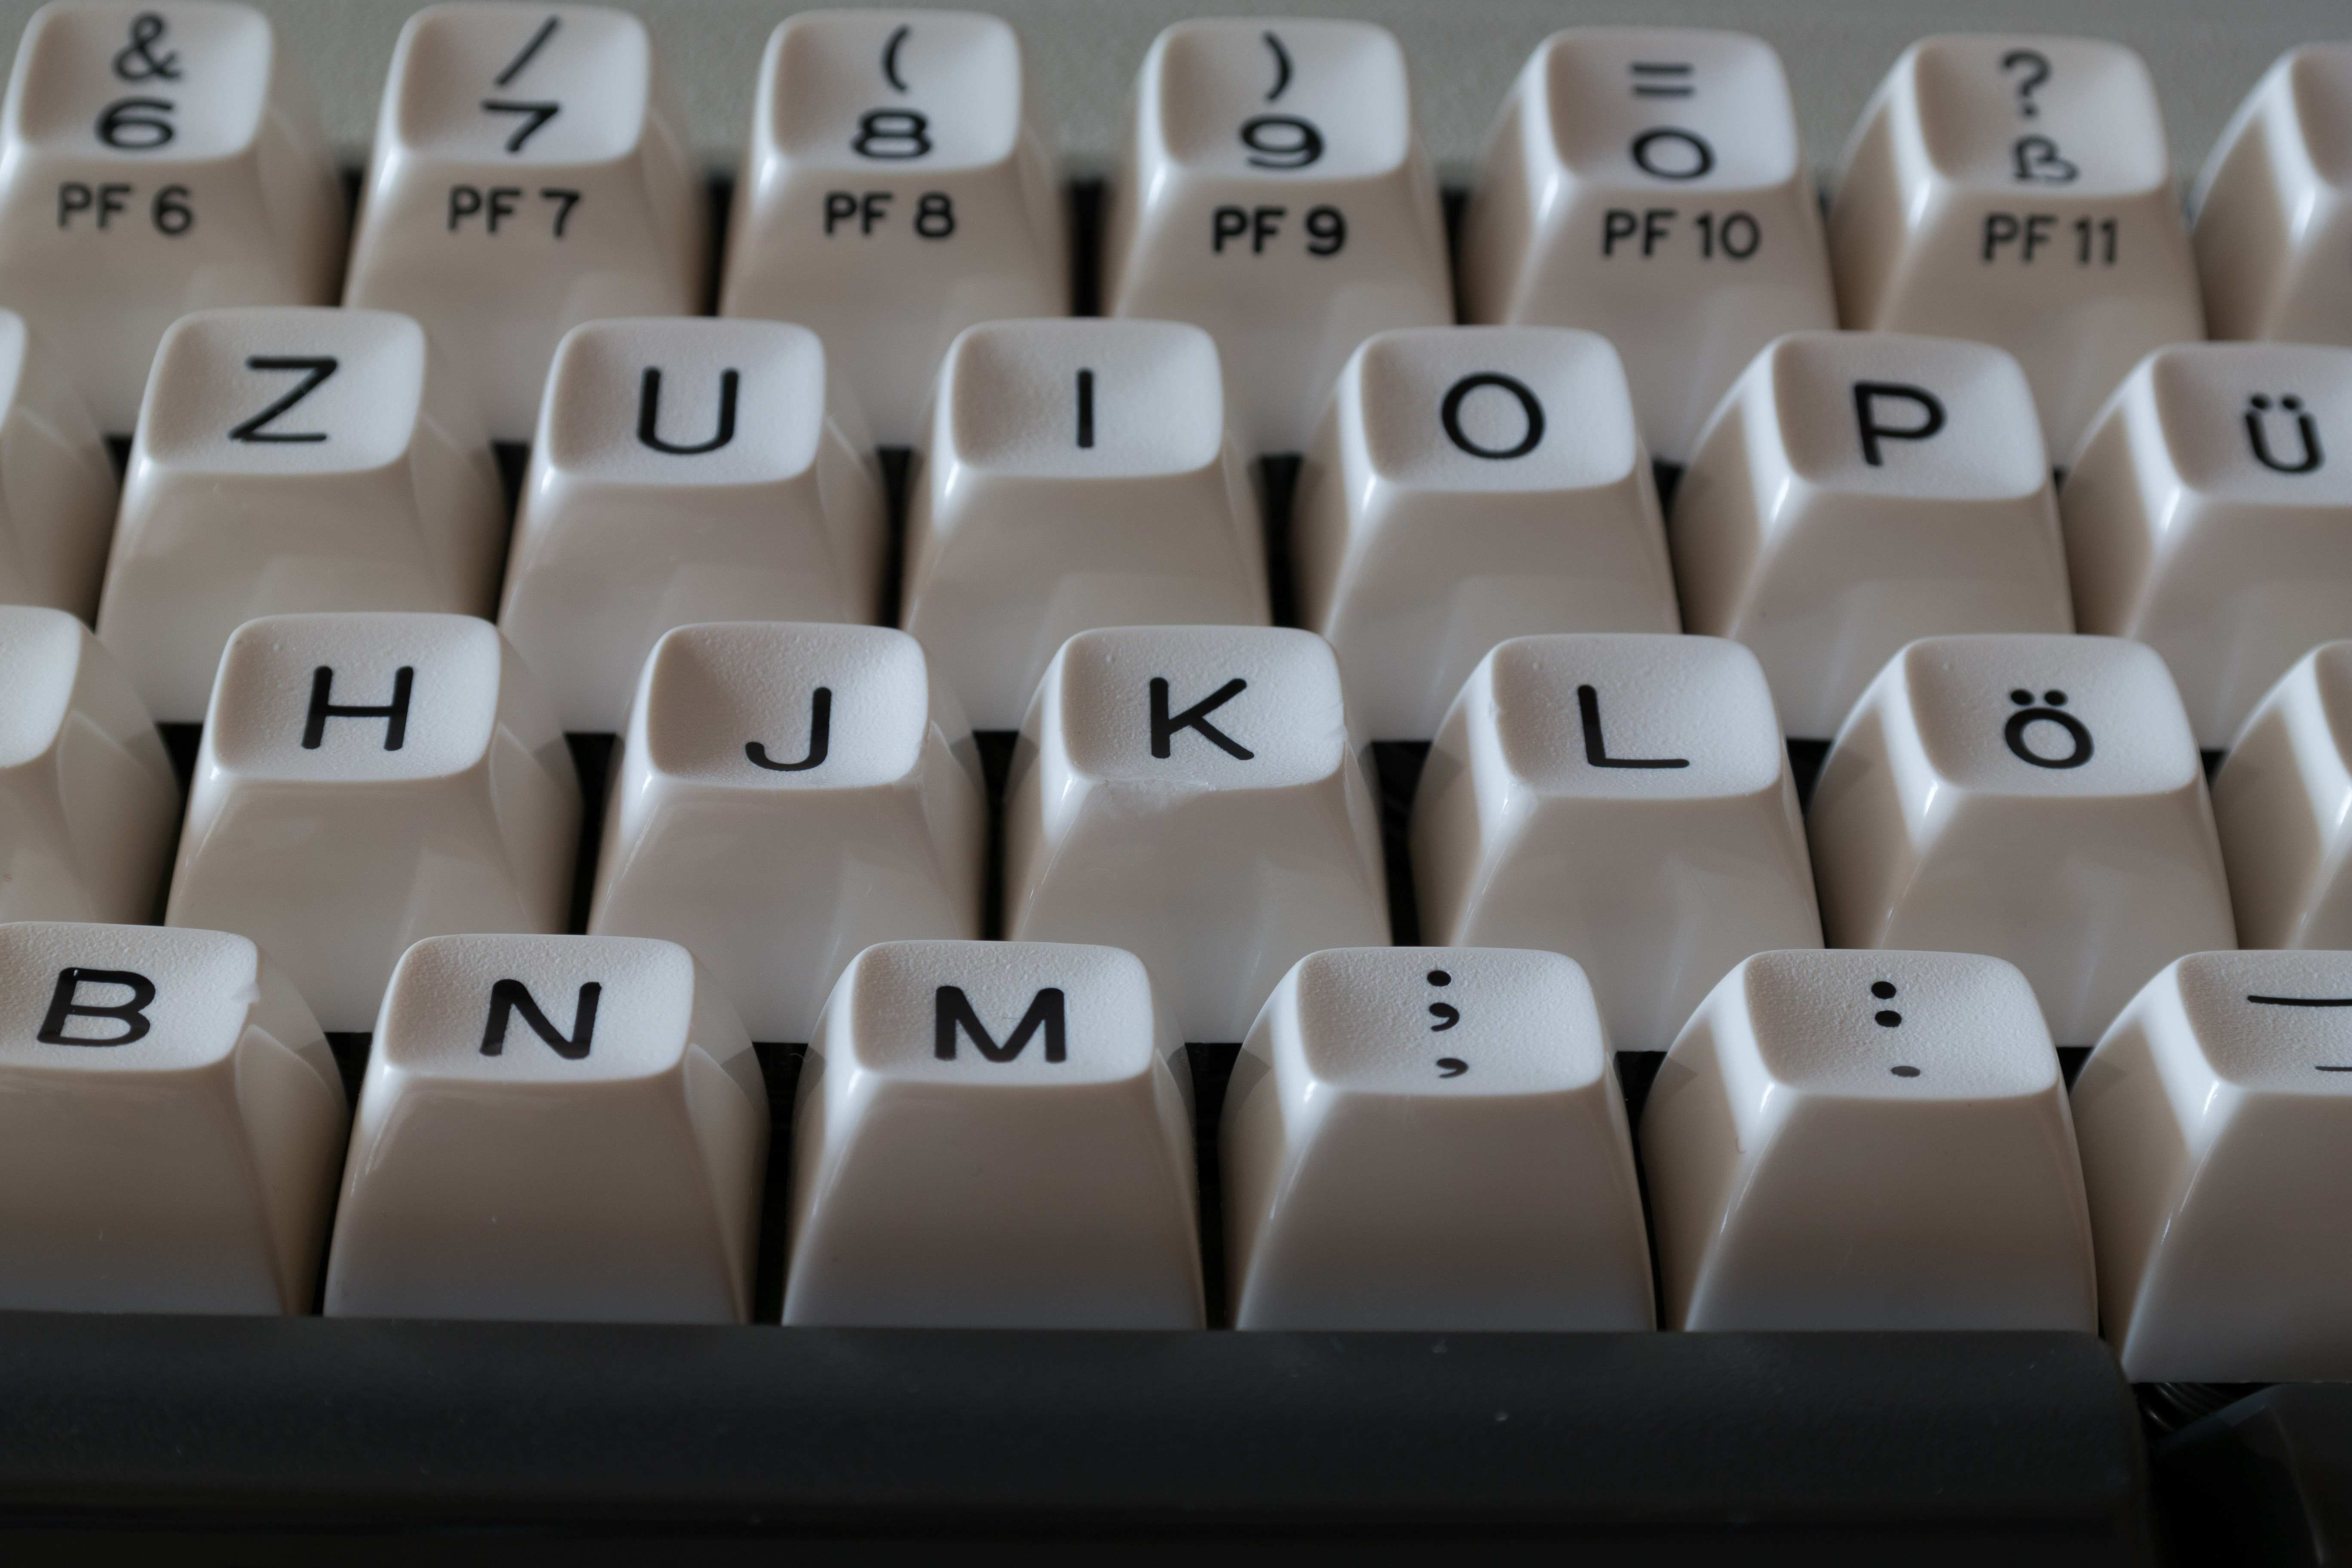
Unfortunately, when I looked closer, I found that a few keycaps where damaged: Especially K and B - to a lesser degree J, L, C:
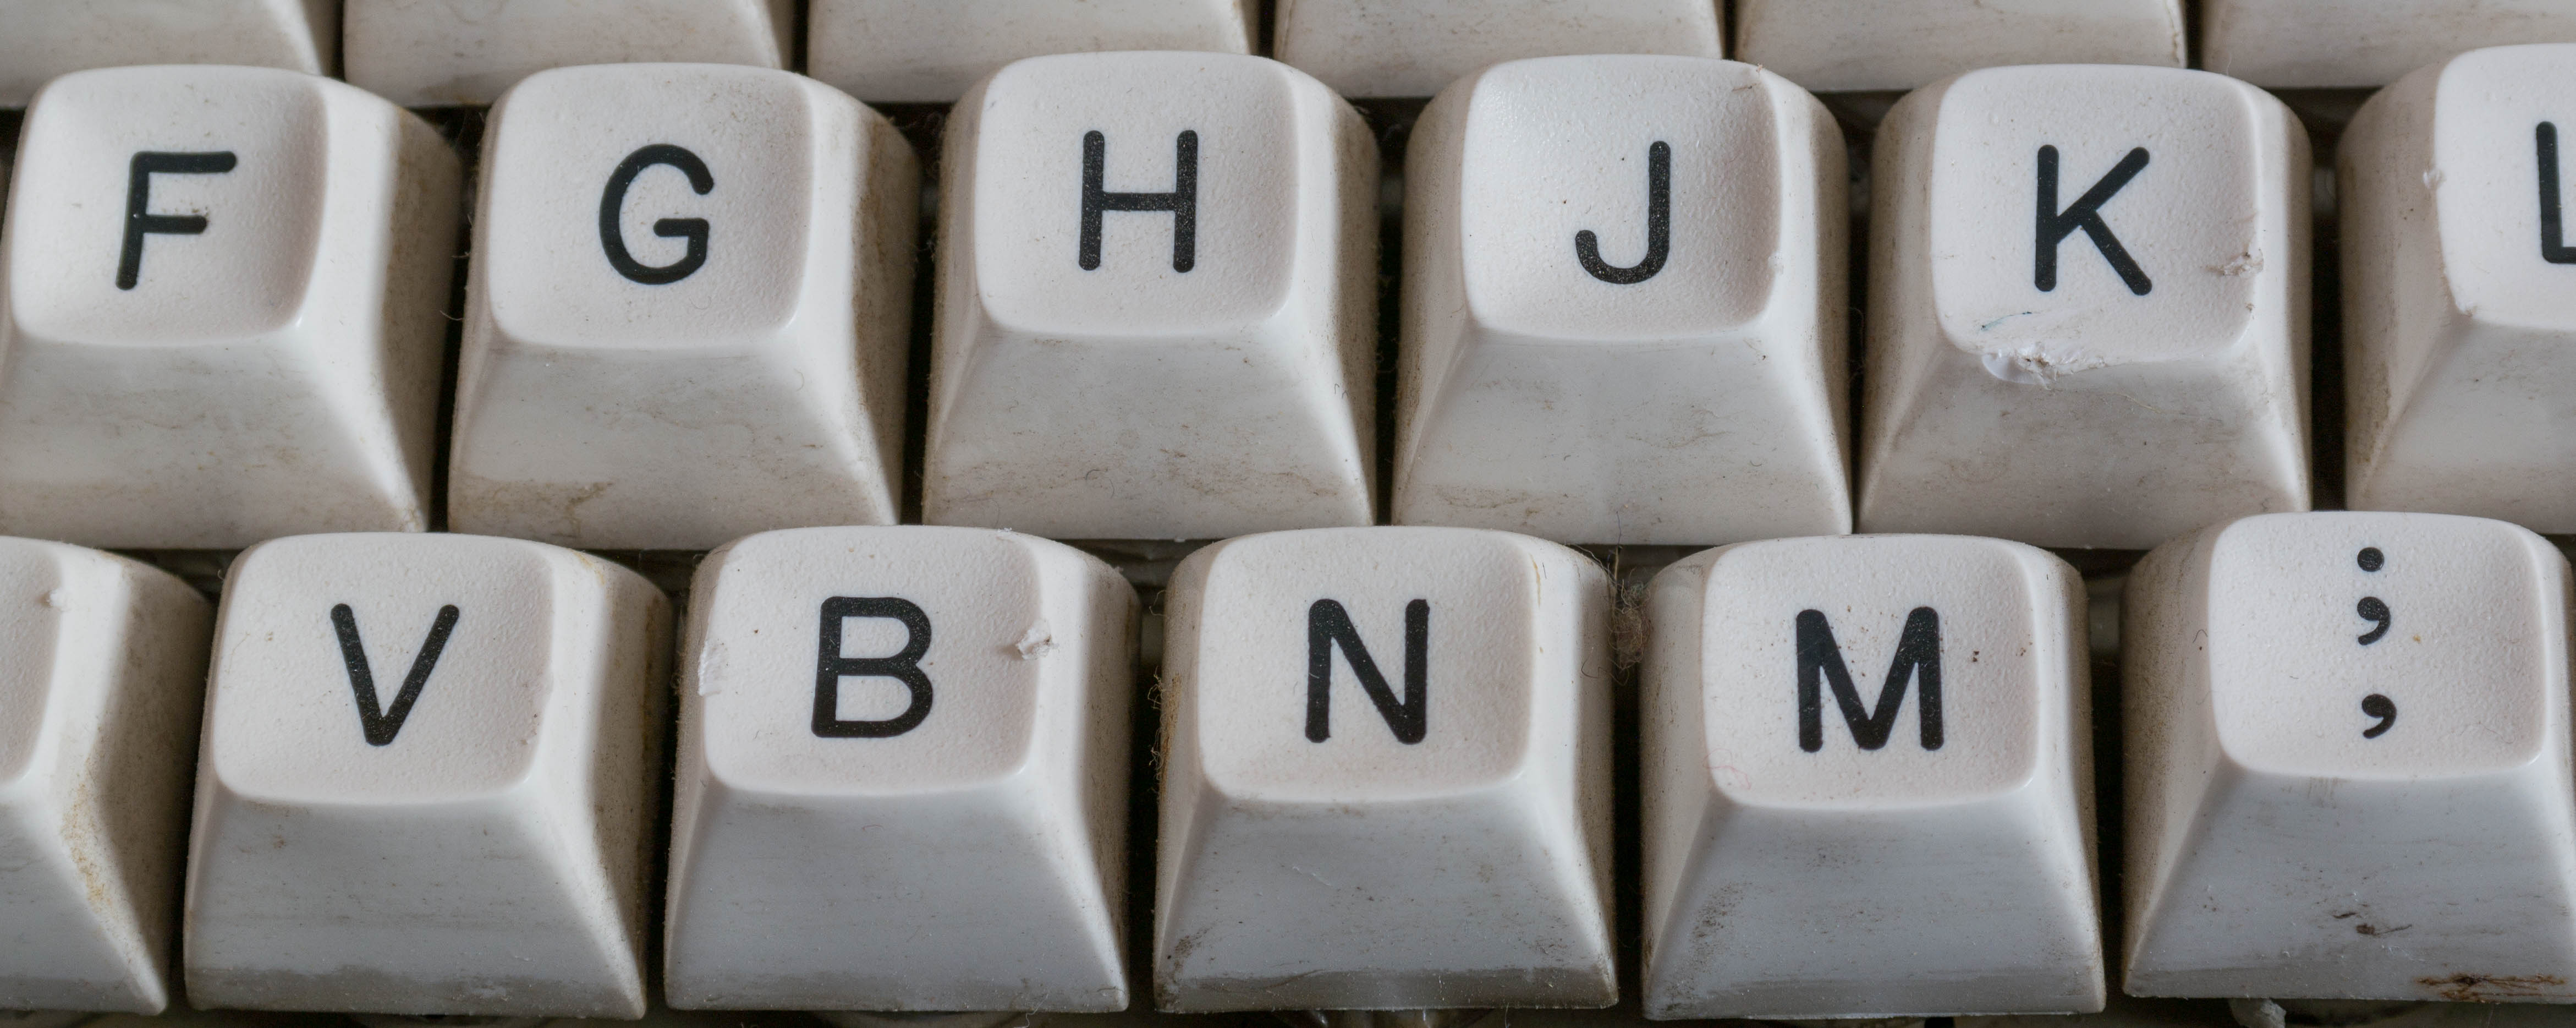
- 3278-03.jpg (563.31 KiB) Viewed 2303 times
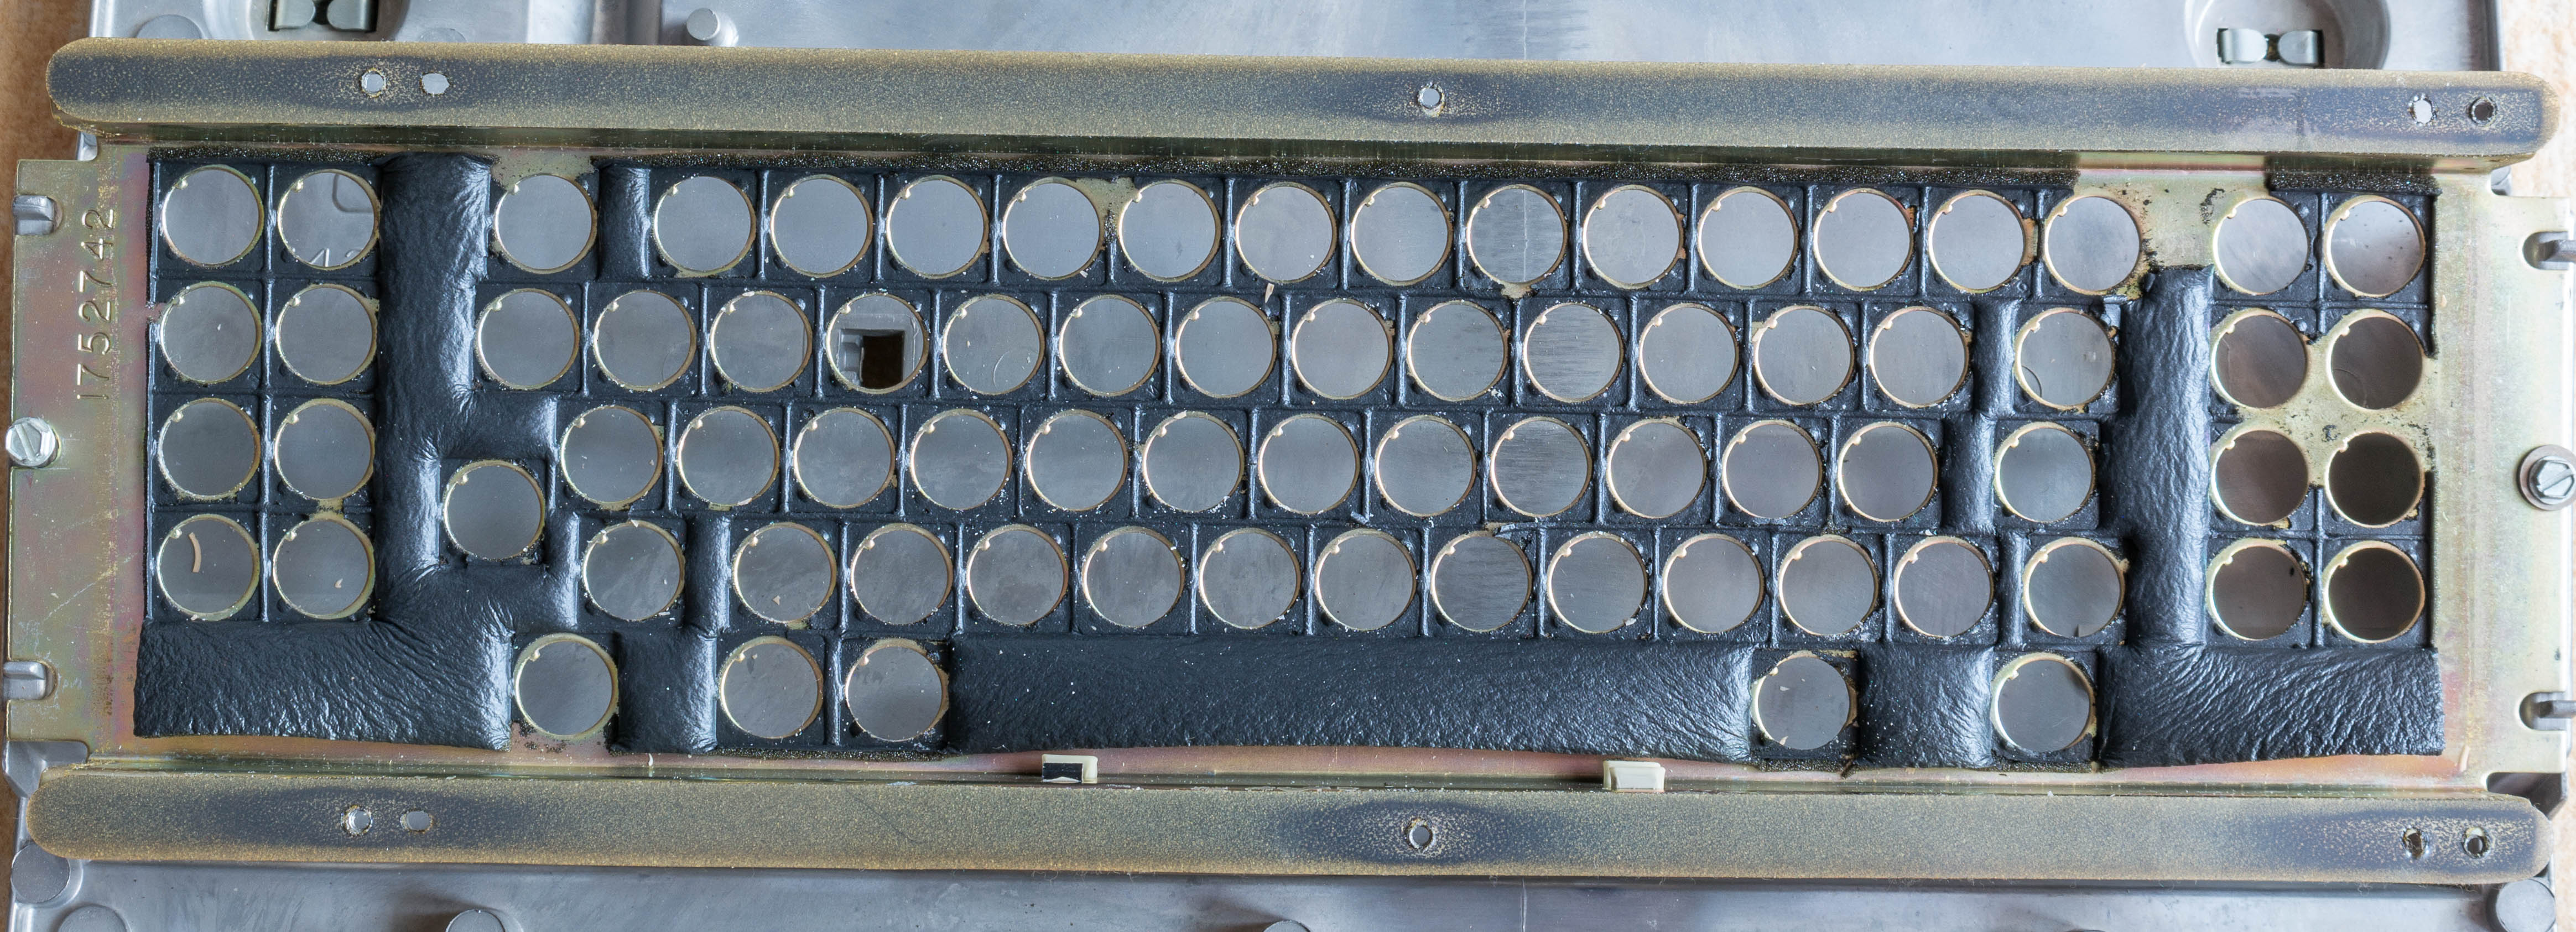
Because the contamination shield on my 5251 was black, I was a bit worried, when I saw something bright between the keycaps of the seller's photos and feared someone might already have been "in it".
Luckily everything - including the screws - was untouched. The bright background came from the beige contamination shield, which was used for this keyboard.
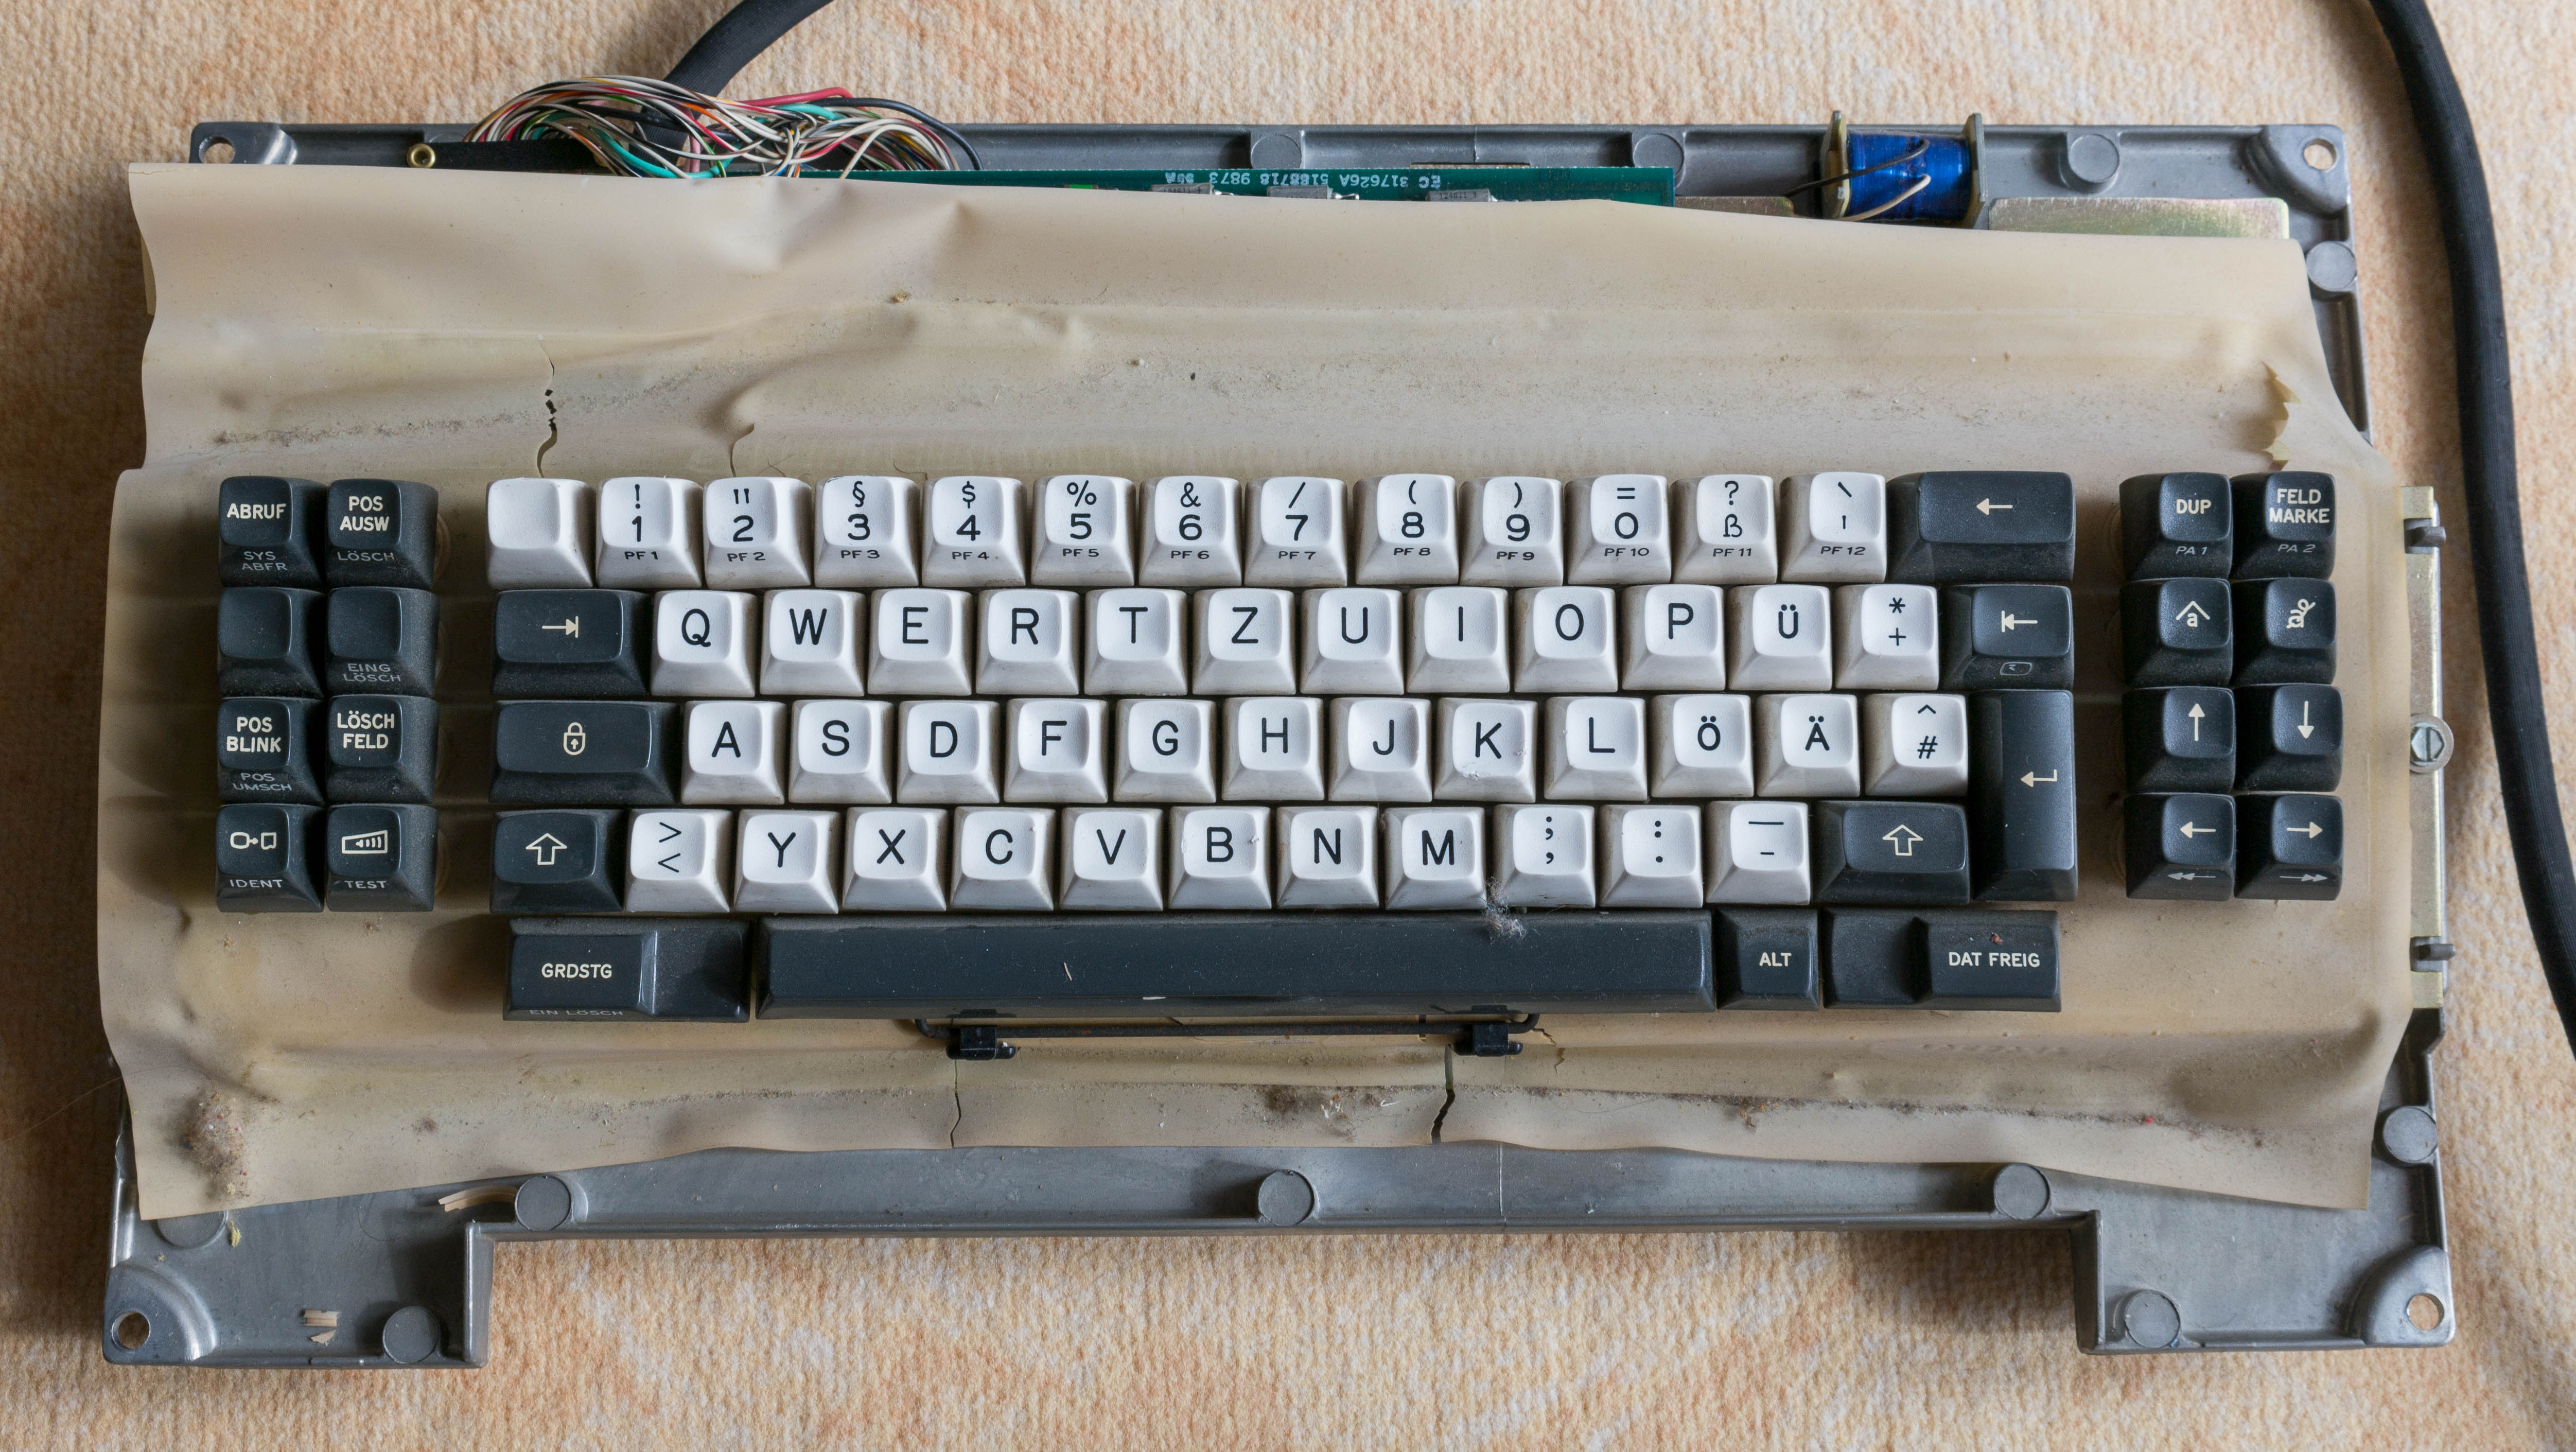
- 3278-04.jpg (1.27 MiB) Viewed 2303 times
Surprisingly - the foam was much easier to remove, than I feared - after my experience with the 5251. In most places it could simply be rubbed off with bare fingers. Only a bit alcohol was necessary to get the top plate cleaned up. I also left the original "seal" strips in place this time.
- 3278-05.jpg (1.04 MiB) Viewed 2303 times
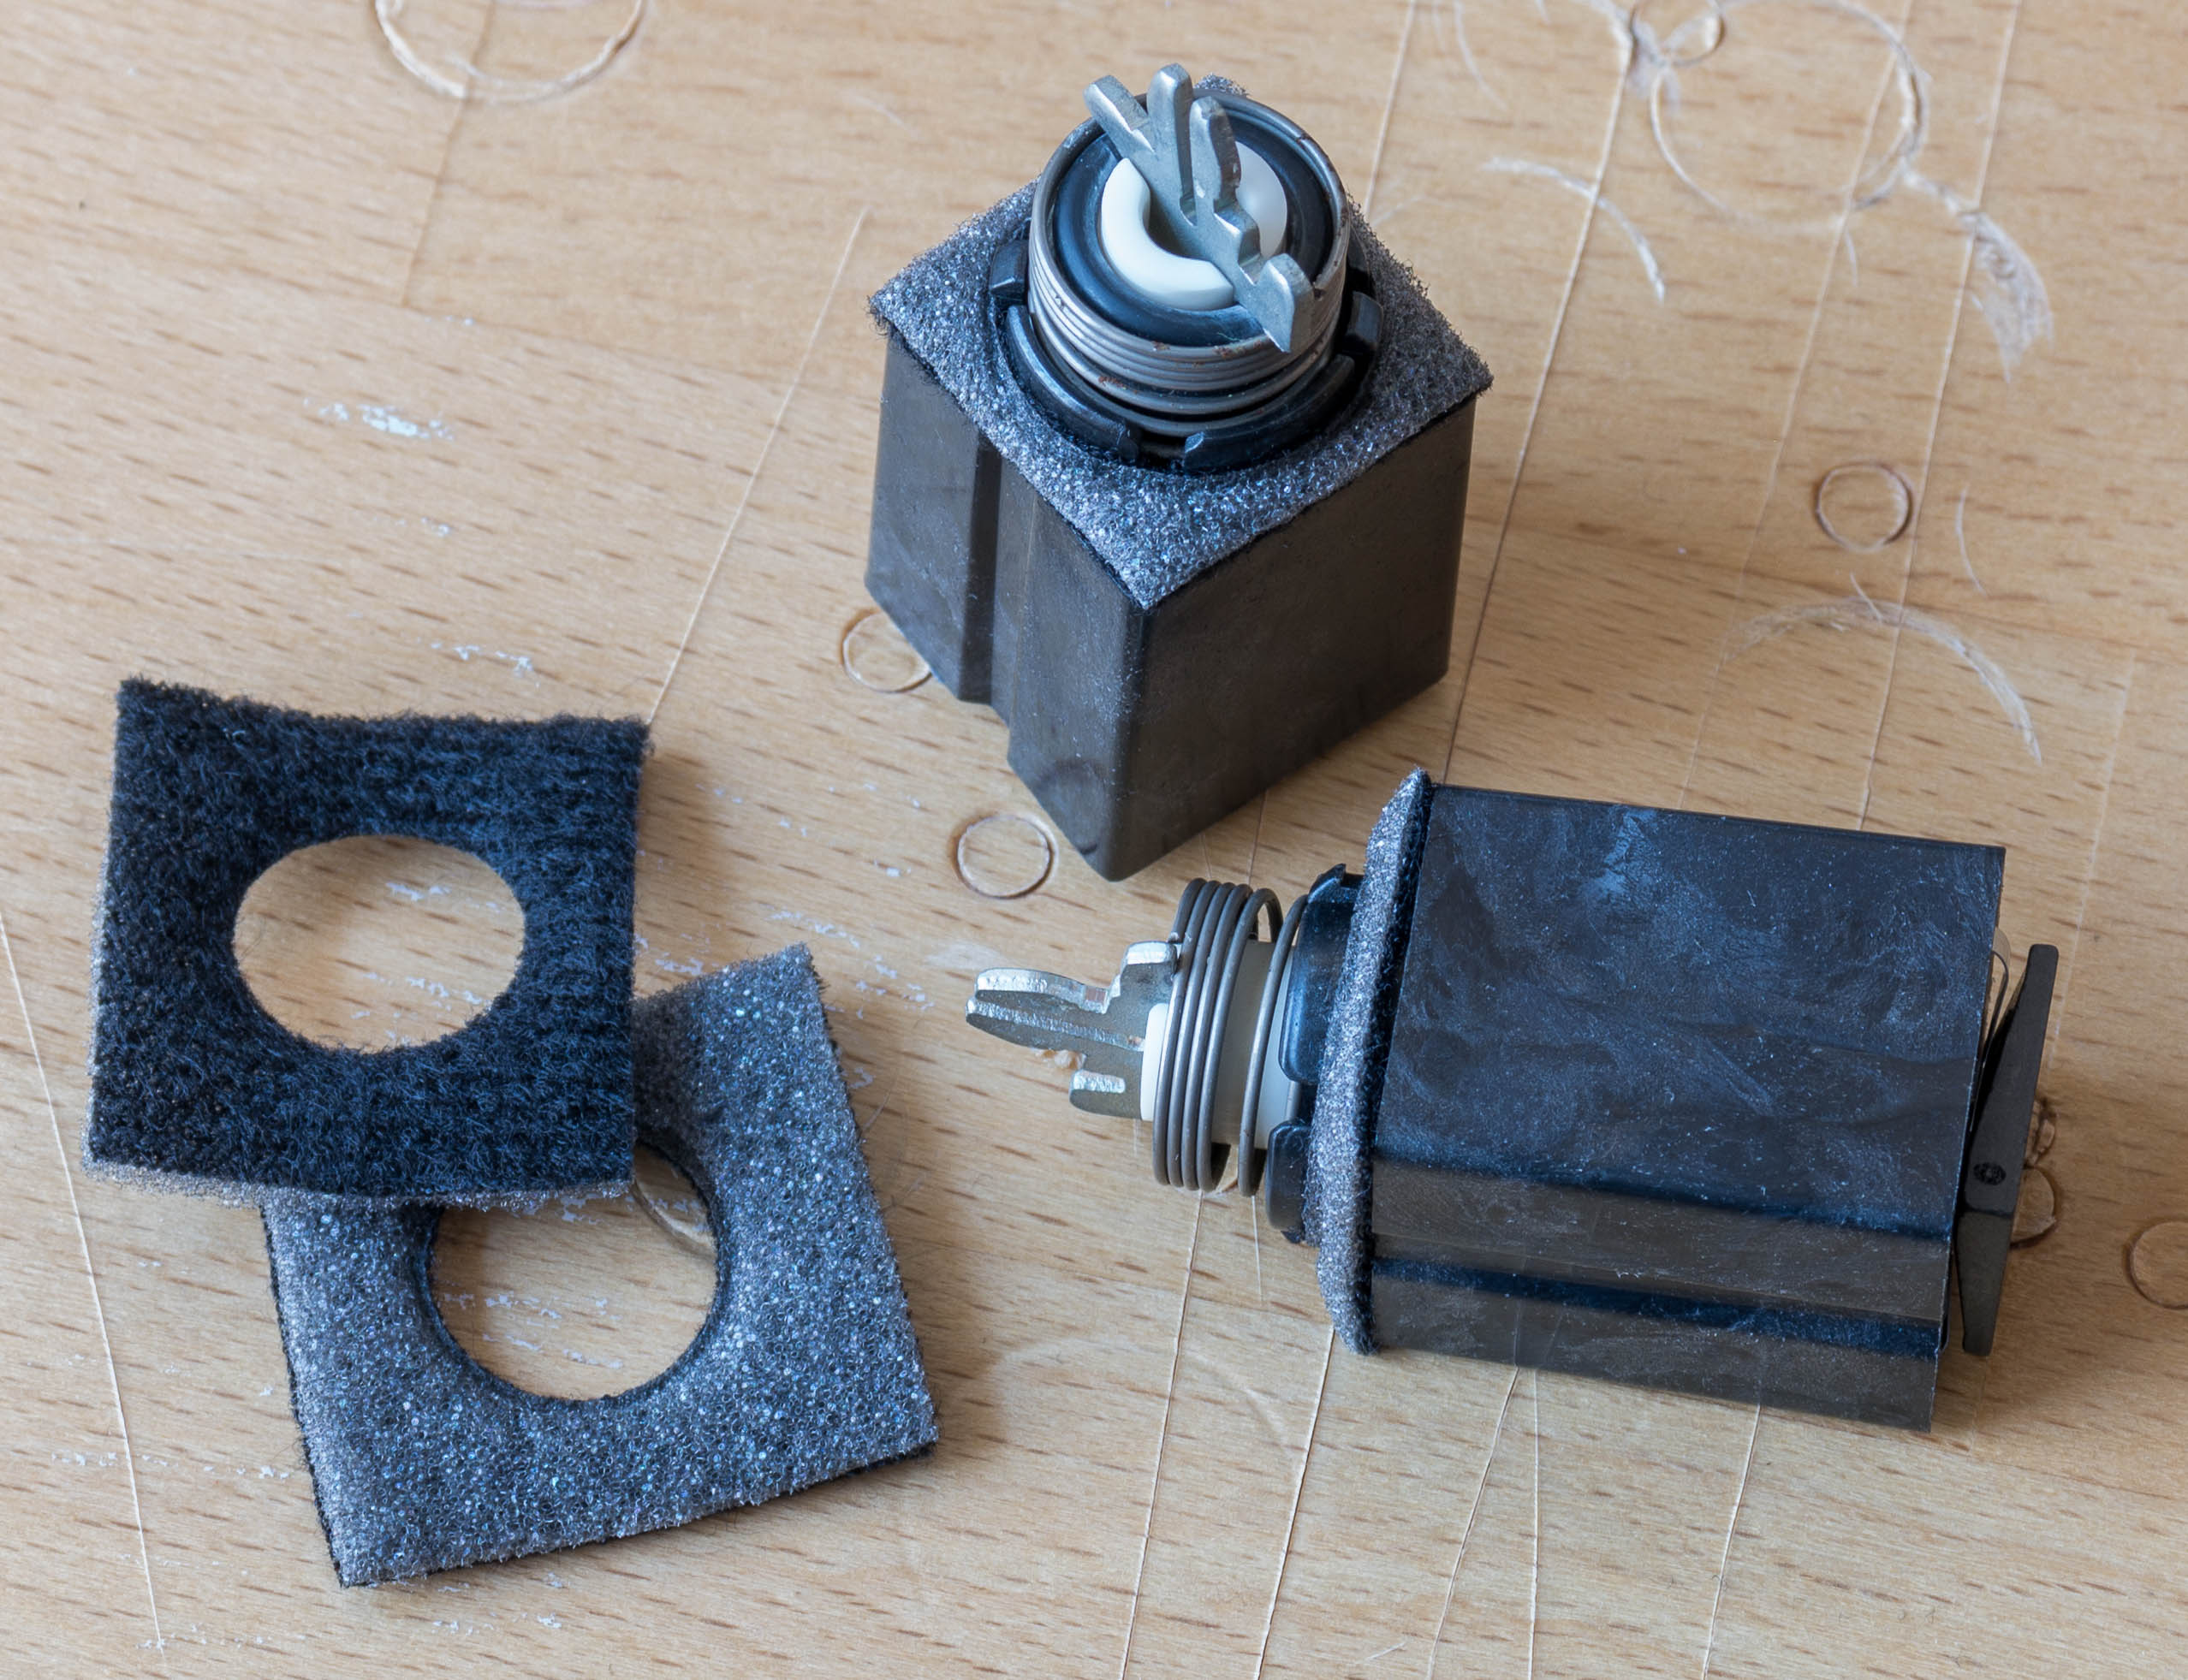
As last time I didn't see a need to disassemble the switches.
As foam replacement I ordered a bit (well minimum size was 1.5 square meters) material, which is used for the headlining of cars. It has some kind of felt on one side and foam on the other.
With the foam for the 5251 I had a bit of trouble to get the holes all in the right position, so my plan was to use a separate foam piece for every switch this time - which worked quite well:
First I cut the little foam squares - quite a bit larger than necessary. Then - with about 7 on top of each other - I punched 12 millimeter holes in them.

- 3278-06.jpg (531.25 KiB) Viewed 2303 times
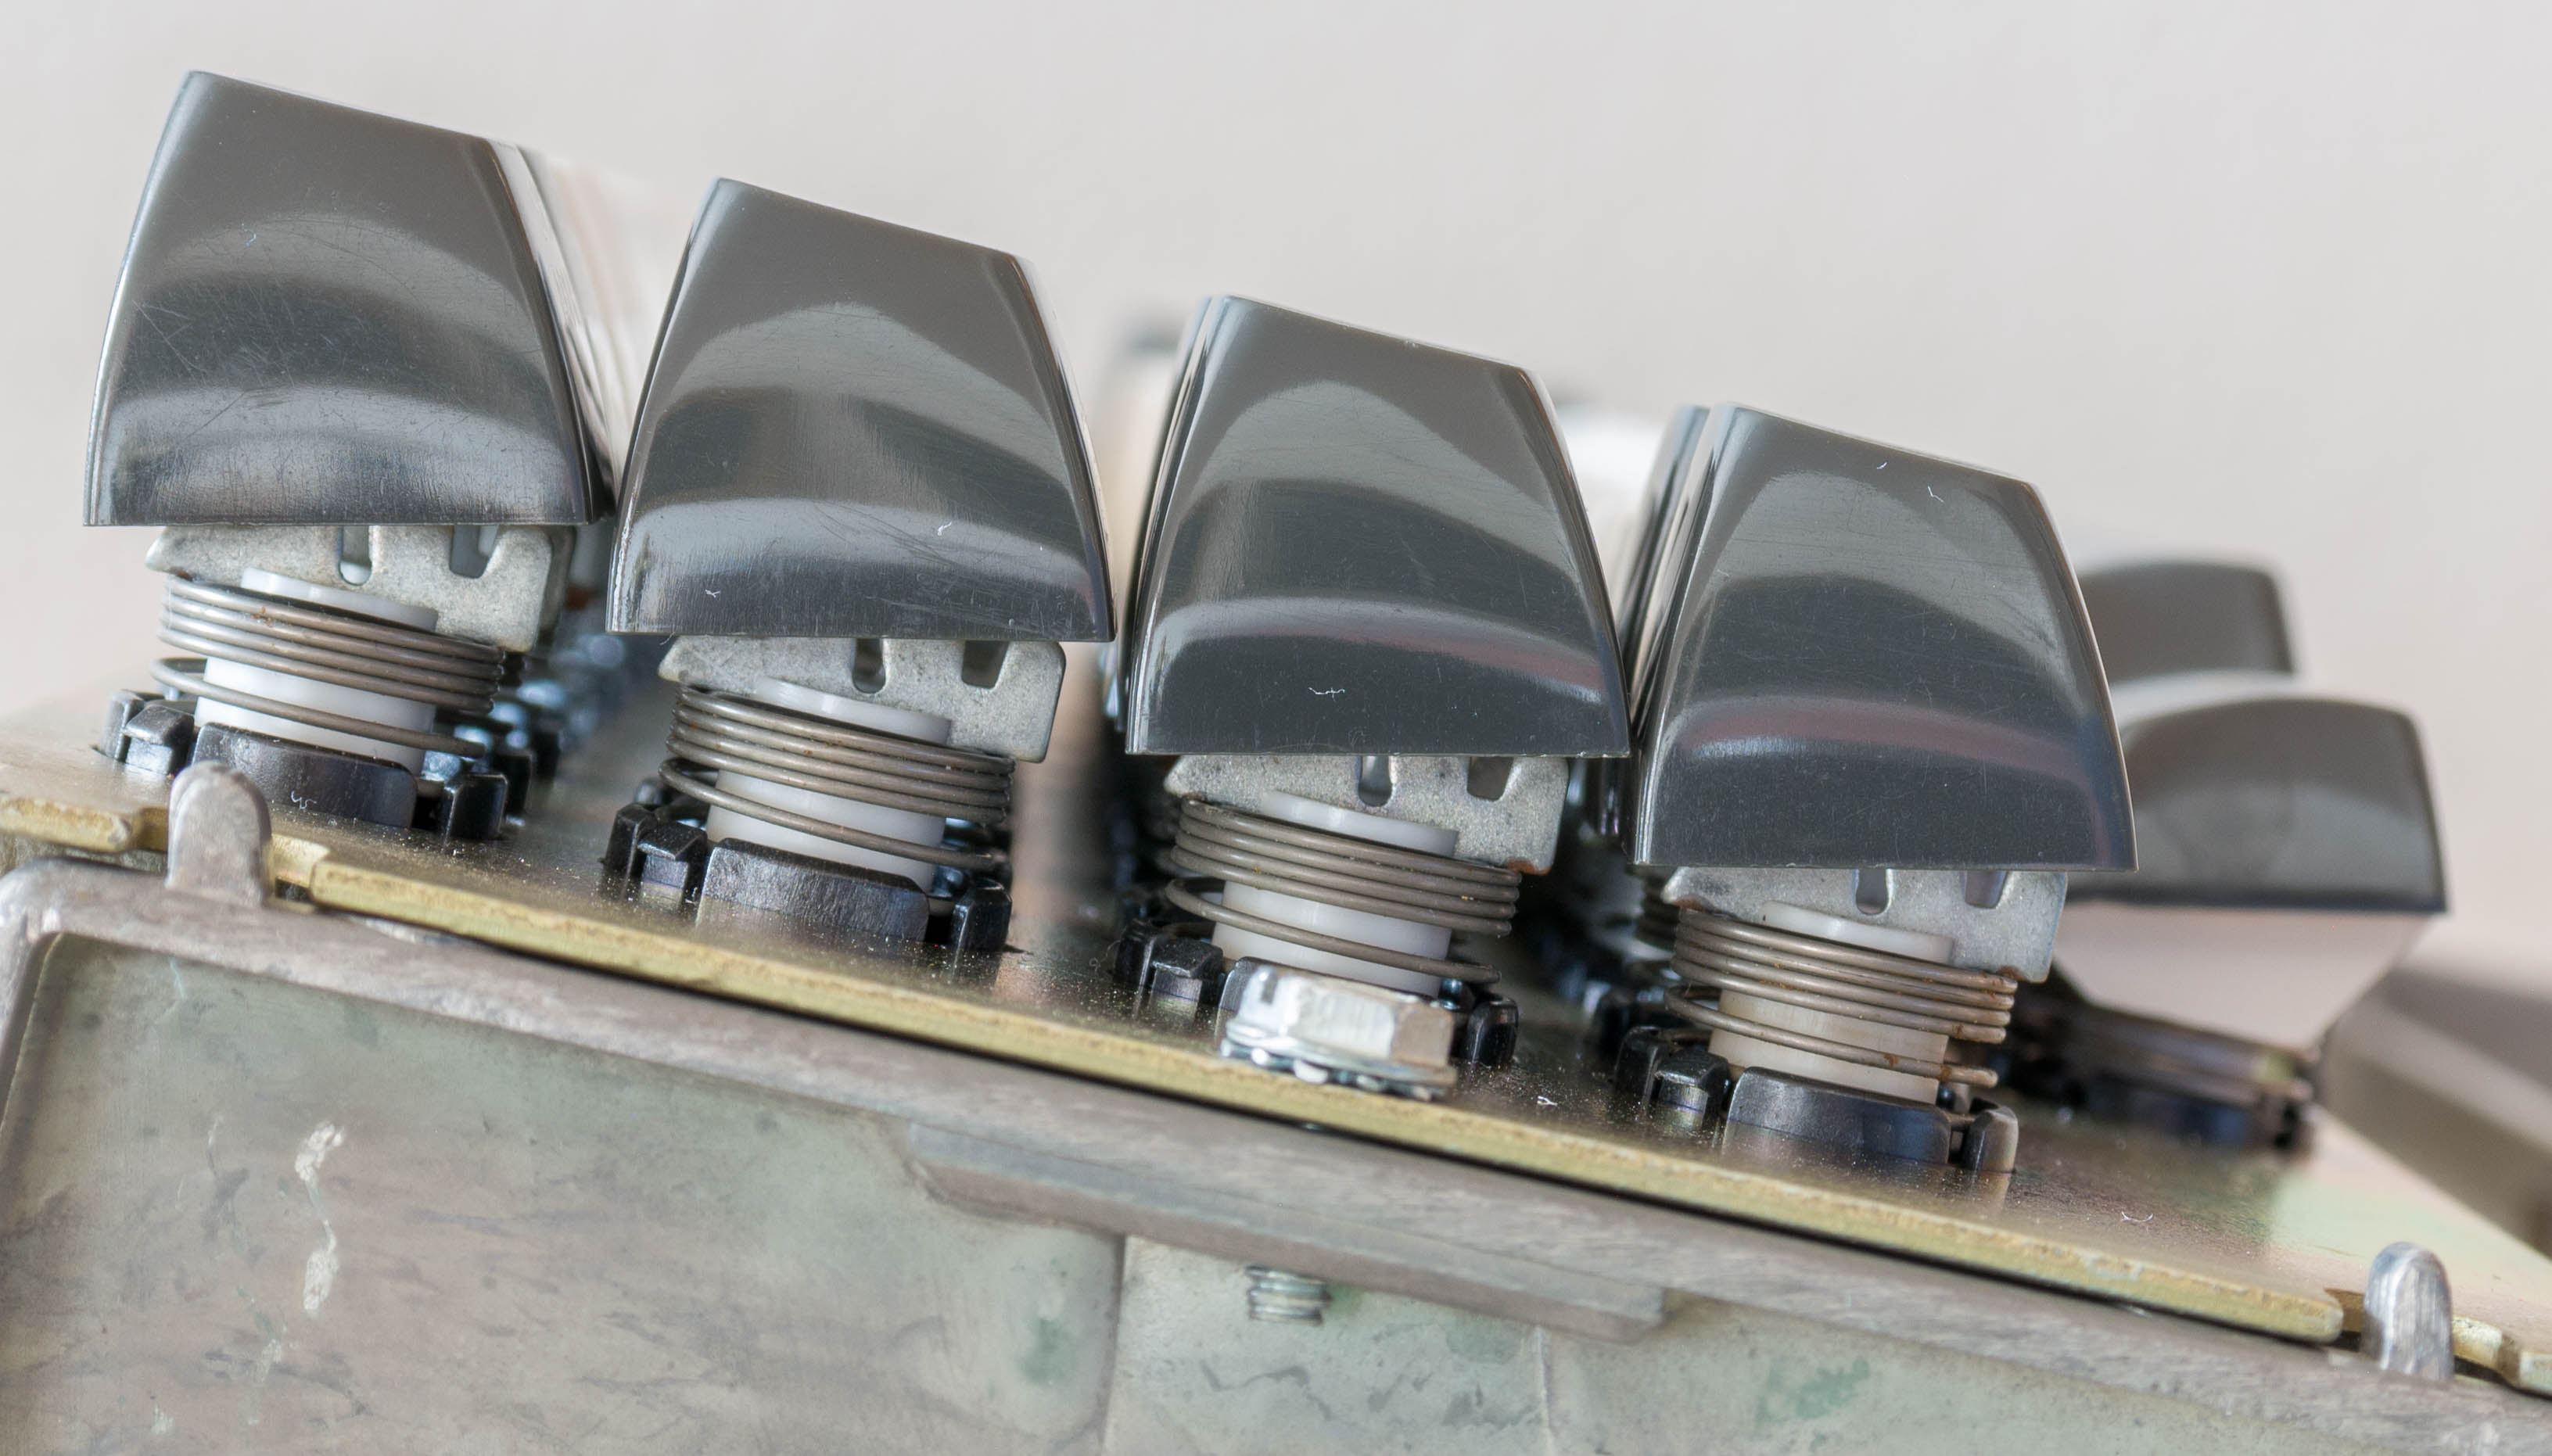
Then I put them on the switches (they stay in place, because the 12 mm holes get stretched to 15 mm by the switches). Then I simply cut the overhanging part of the foam off - with scissors.
- 3278-07.jpg (565.19 KiB) Viewed 2303 times
This work and putting the switches back in was far more relaxed that way.
What surprised me the most, was how light the bottom piece of the case is. I don't know, if it's aluminium or magnesium....

- 3278-08.jpg (1.11 MiB) Viewed 2303 times
Unfortunately it's also very soft! When I tightened the 2 screws, that attach the switch assembly to the bottom case, one of the threads just sheared off - despite the fact, that there is even some sort of strengthening in place. (screw in the foreground in next picture)
- 3278-09.jpg (397.22 KiB) Viewed 2303 times
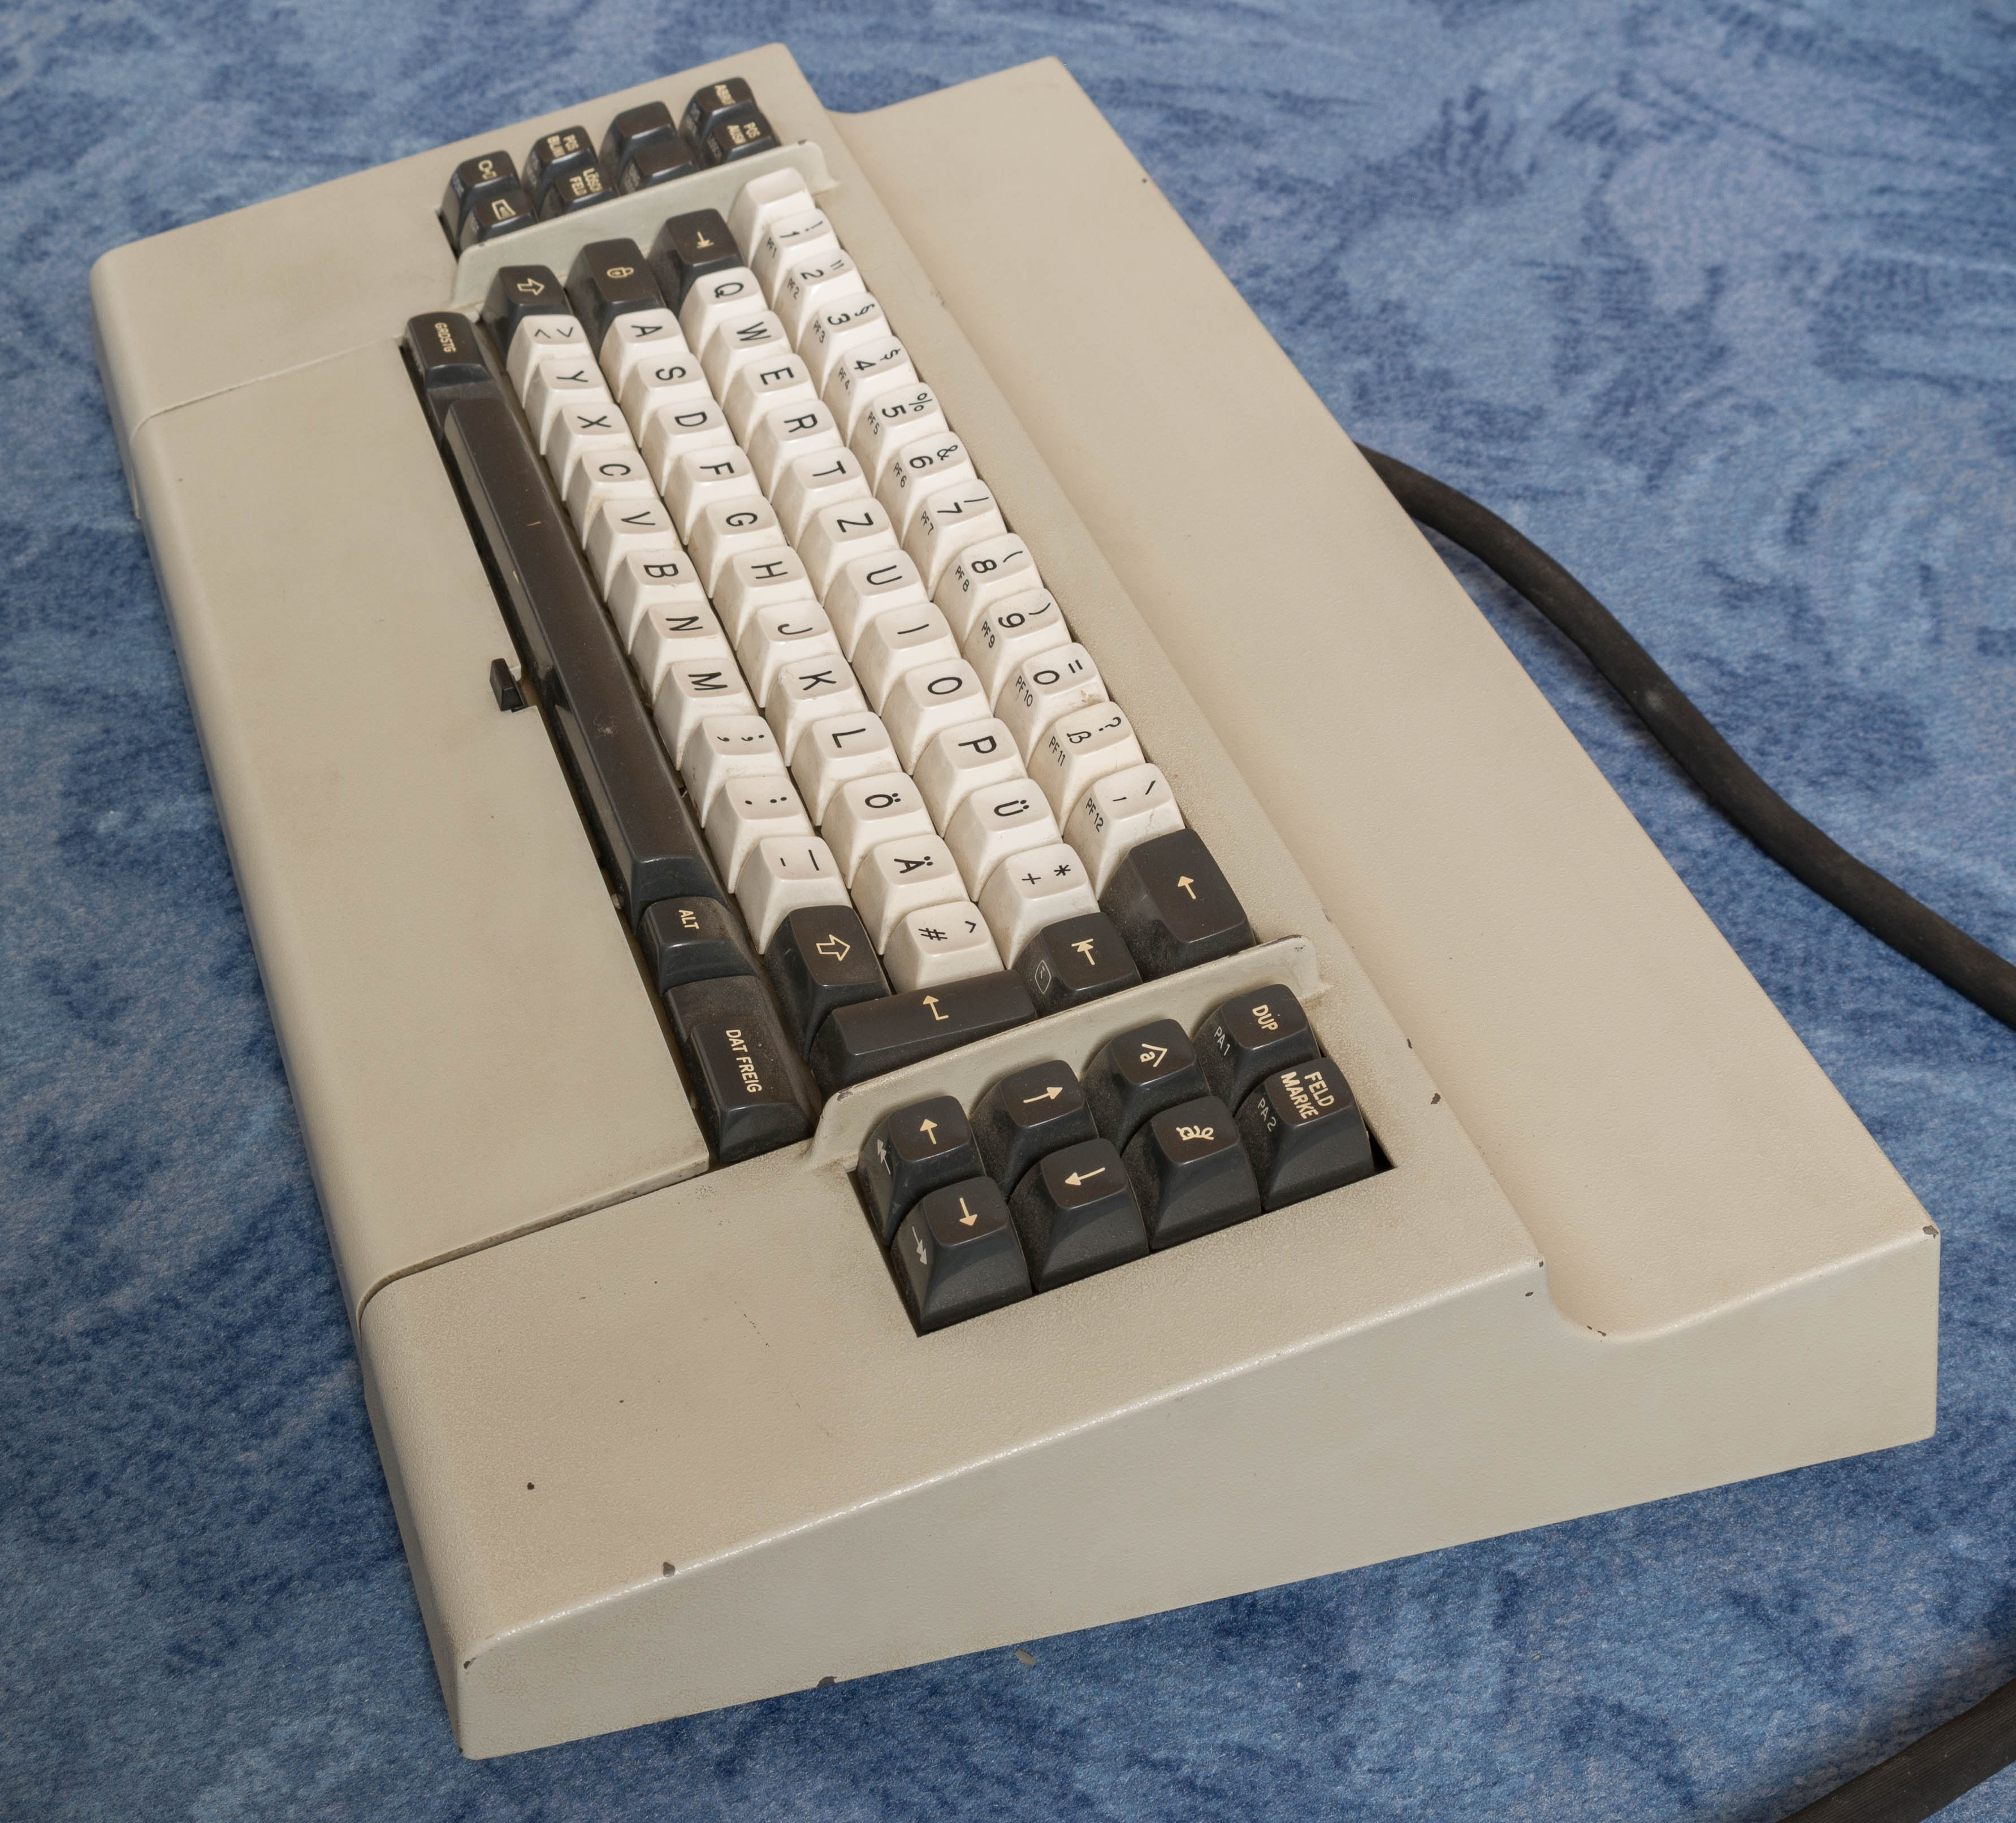
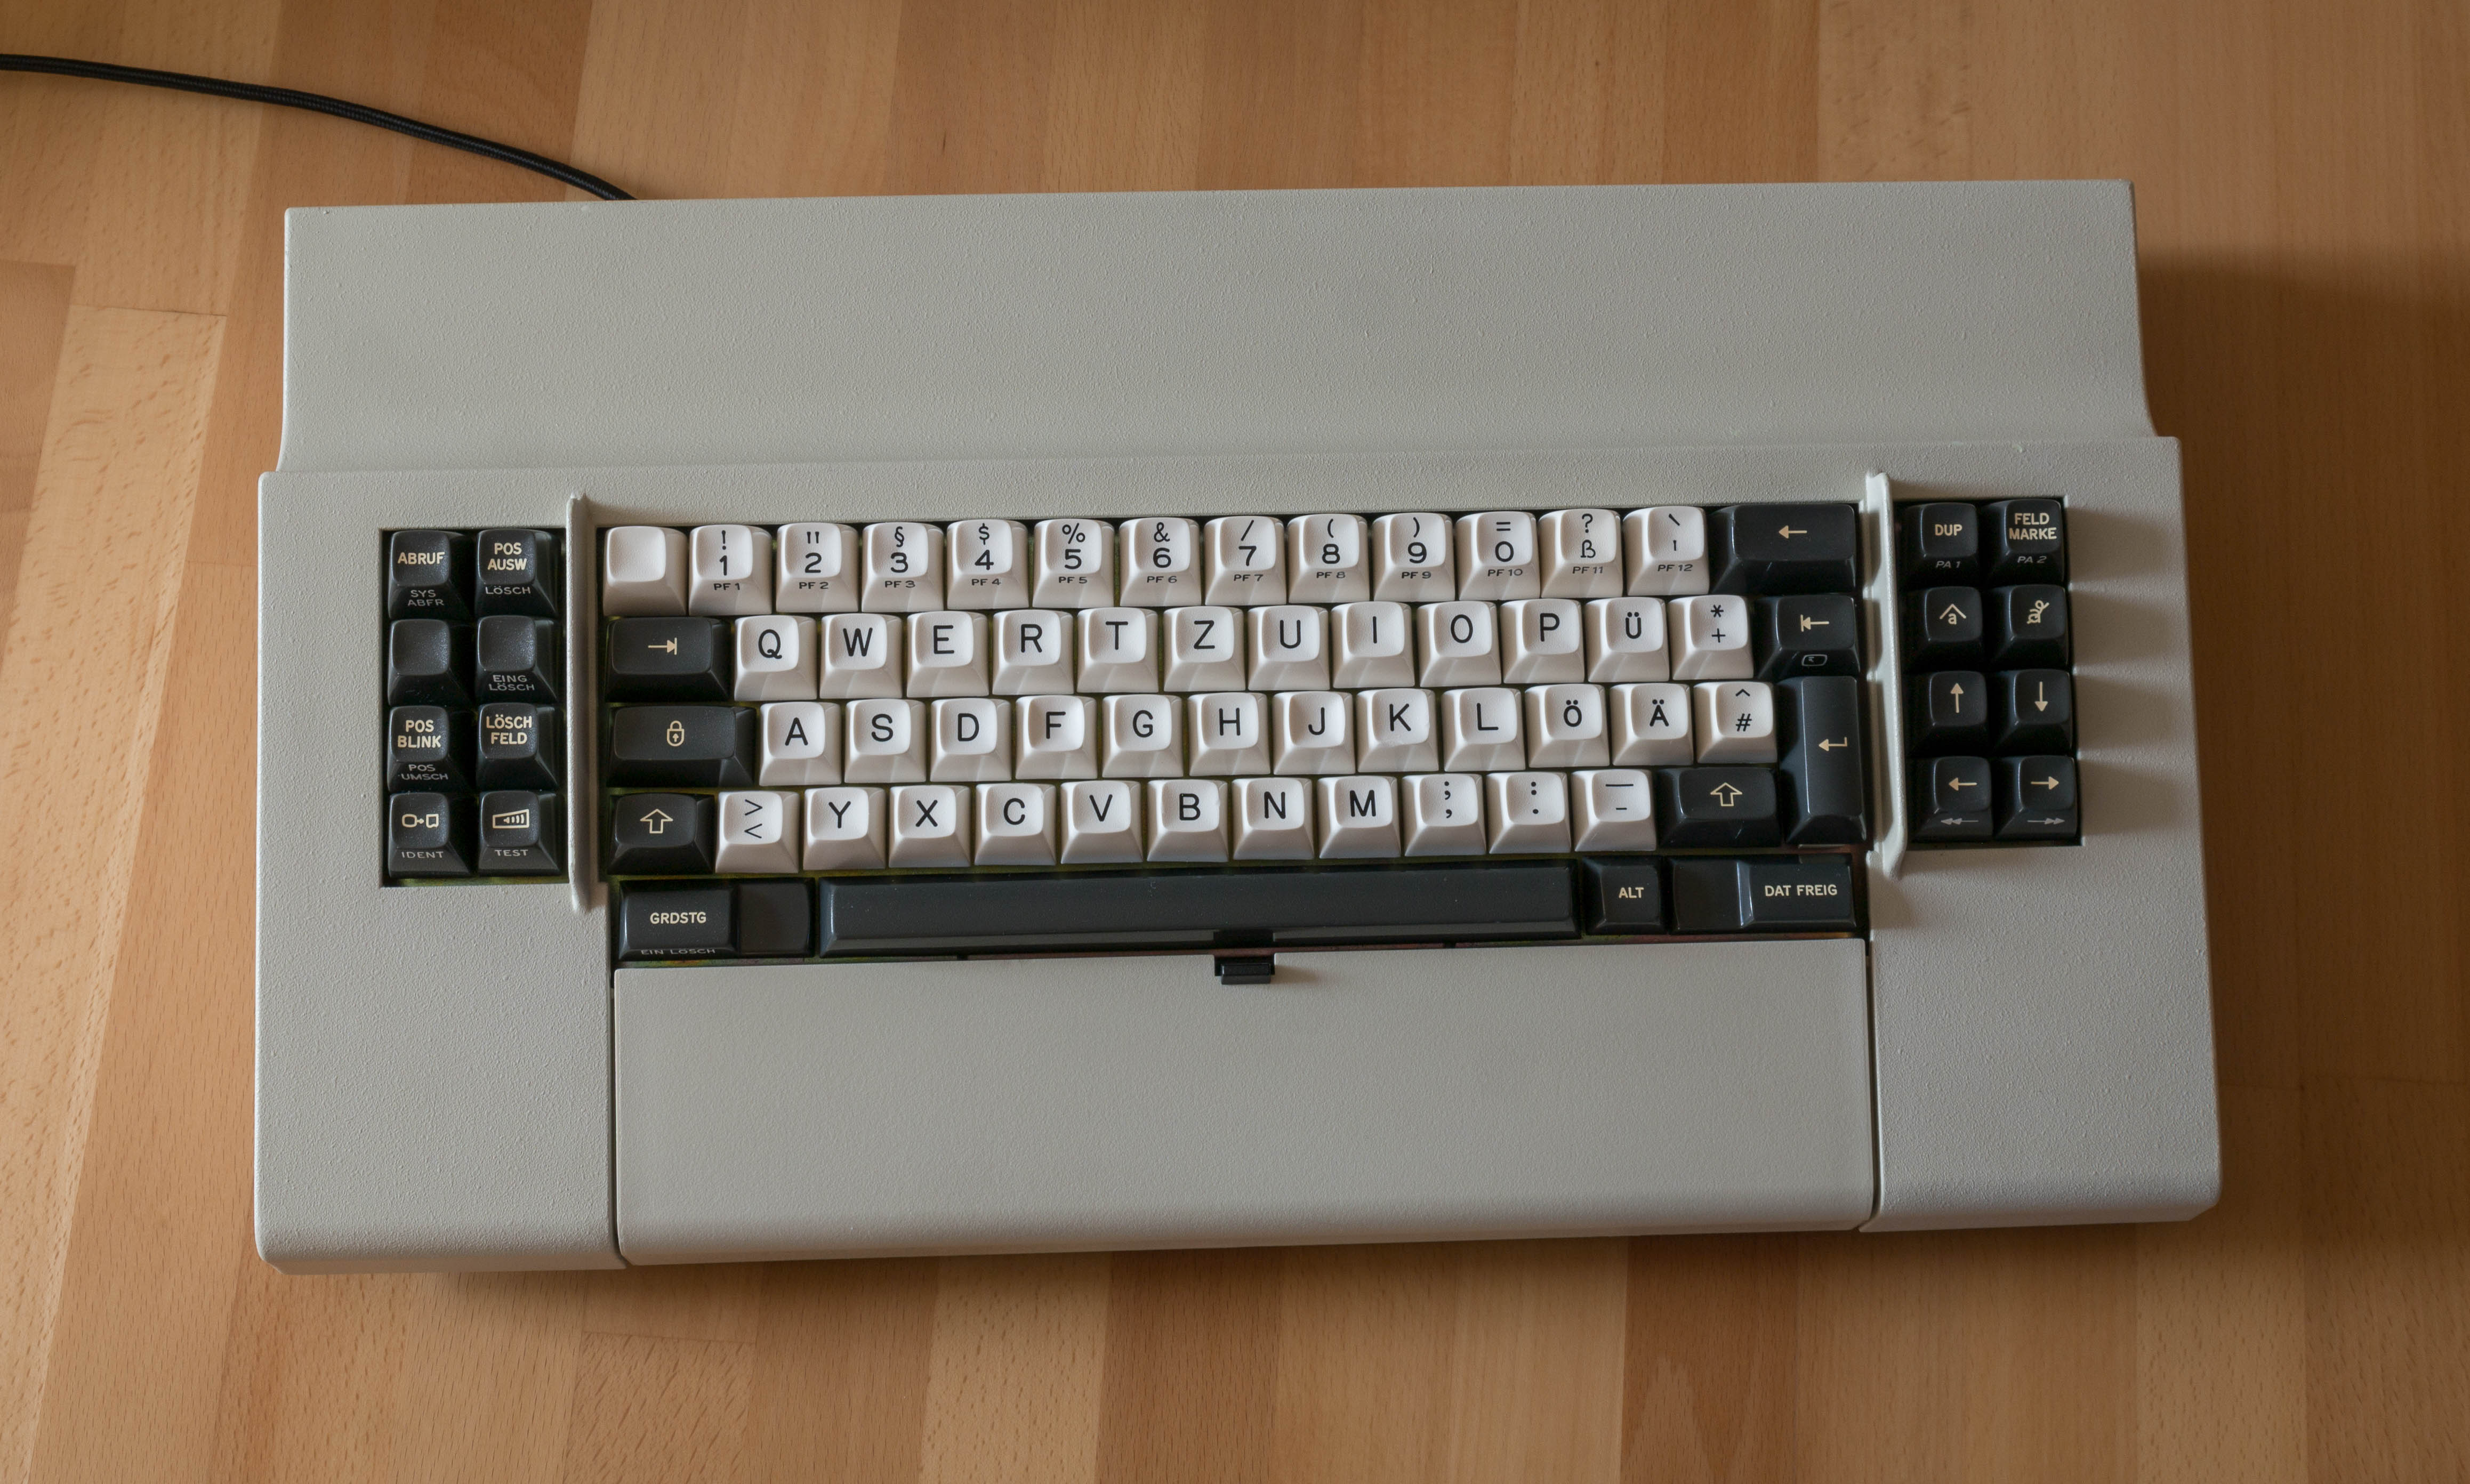
A few pictures of the finished product:
- 3278-10.jpg (1 MiB) Viewed 2303 times
The built-in "password notebook", was apparently put to good use.


- 3278-11.jpg (1.18 MiB) Viewed 2303 times
- 3278-12.jpg (1.92 MiB) Viewed 2303 times
- 3278-13.jpg (2.26 MiB) Viewed 2303 times
- 3278-14.jpg (1.46 MiB) Viewed 2303 times
- 3278-15.jpg (1.5 MiB) Viewed 2303 times
- 3278-16.jpg (1.76 MiB) Viewed 2303 times
The damaged keycaps were restored with the super glue + baking powder method. Although the spots of missing plastic are filled and can't be felt, they're still a bit visible, because the super glue is quite translucent. Next time I would somehow try to get more baking powder in the mix.


